Skip to content

Apple Universe

Top-level category for all Apple, Mac, and OS X related topics.

A quick iPhone 13 Pro vs iPhone 15 Pro photo comparison

I upgrade my phone every two or three years; I just moved from the 13 Pro to the 15 Pro, primarily for the new camera features. I'm not a pro photographer, nor even a prosumer photographer. I do like seeing how things have progressed, however.

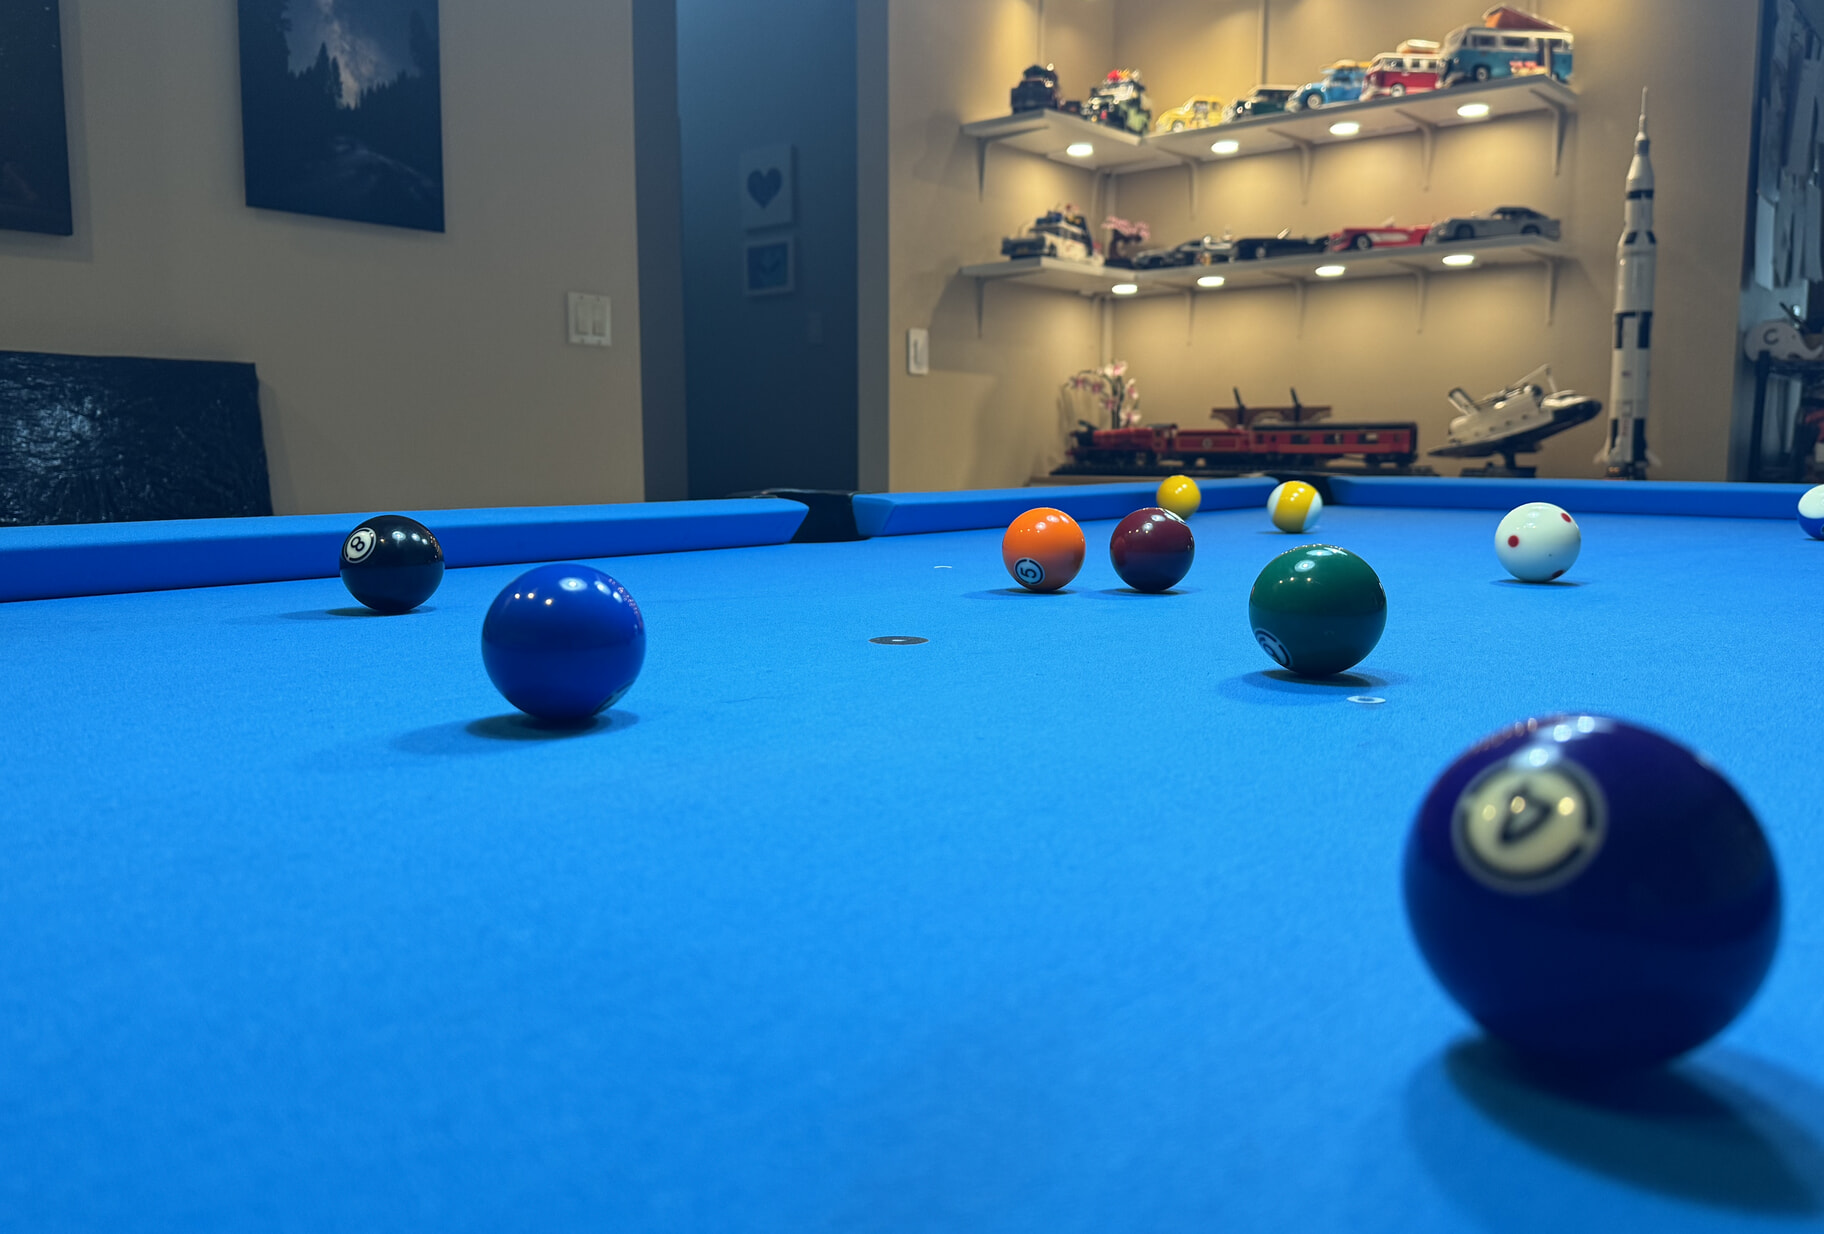
So here are three photos shot with each phone, taken seconds apart, with each camera set to its highest resolution and HEIC-formatted photos. I then edited the photos only to improve their alignment, and reduce the sizes. See if you can guess which photo of each set was taken with which phone.

Indoors

[continue reading…]


How to enable the “Beta updates” feature in macOS 13.4+

As of macOS 13.4, there's supposed to be a "Beta updates" button in System Settings > General > Software Update, as seen here:

Sure enough, that button is there on my iMac…but it wasn't on my MacBook Pro. Everything I read on Apple's site and elsewhere said it should simply exist, but it didn't. After much futzing around, I stumbled on the solution:

Click the ⓘ button on the Automatic Updates line to open the settings for automatic updates. My guess is that you'll find that the "Install macOS updates" setting is disabled. Enable it and click Done. The "Beta updates" feature may appear now, but if it doesn't, open that same panel again, and disable the "Install macOS updates" setting. You will now definitely see the "Beta updates" feature.

Nowhere in Apple's documentation does it mention that automatic updates must be enabled (at least once) in order to see the "Beta updates" feature. But that seems to be the case, as this fix has now worked for three Macs.


Why hidden UI is bad UI—example number 4,516,672,523

If only there were some way to add to the Favorites (or Smart Mailboxes or etc.) section in Mail's sidebar…

…oh wait, there is. As long as you magically hover in exactly the right general area to see the previously-invisible UI for adding favorites.

Thankfully, you can also right-click on a mailbox and select Add to Favorites. I consider the contextual menu items to be semi-hidden UI, as you still have to go looking for them. There is no way to do this using Mail's menus, however.

The best solution would be to have the down-arrow and plus sign always visible next to each item where it's applicable. A user setting could be included for those who prefer the clean look.

I really hate hidden UI.


The most popular letters in Wordle and its relatives

Each morning, I spend a few minutes doing a set of word puzzles—I find they help clear the sleep and get me ready for the day. My daily set includes (in the order I do them):

My focus today is on the first three games in the list. Everyone is probably familiar with Wordle, where you have to guess a five-letter word in six tries.

Canuckle uses the exact same rule set, but all the words are related to Canadian history and culture.

Quordle also uses the same rule set as Wordle, but you solve four five-letter words at the same time. (If you like that kind of thing, Octordle (8 at once), Sedecordle (16), Sectordle (32), and Sexaginta (64) take it to extremes.)

When I started playing Quordle, I had troubles as I'd focus on one word and use up too many moves, preventing myself from solving the others. So I thought I'd "do the math" and see if I could find better opening words for the three Wordle-like games.

To do that, I looked at all the words that had been played so far, figured out which letters were most likely to appear, then created a set of four starting words, based on letter popularity, for each puzzle.

Note: The remainder of this post includes an analysis of all the words used in each game, and ranks the letters by occurrence counts. It also includes graphs showing the distribution of the letters. The images are hopefully unreadably small before clicking, and the top letters are ROT13'd to prevent accidental reading. Still, if you don't want to know, stop reading now.

[continue reading…]


Using network locations in macOS Ventura

Update: macOS 13.1 brings the Locations feature back to macOS Ventura, so you can ignore this blog post. To use locations, open the Network section of System Settings, then tap the ellipsis with the down arrow at the bottom of the window:

While this is still a bit hidden, it's much more usable than having to visit Terminal. I don't know why they vanished, but I'm glad Locations have returned from their brief hiatus.

This weekend, I finally migrated my 2019 5K iMac from Mojave to Ventura. There were many reasons for remaining on Mojave, starting with the fact that I liked the OS and it worked very well for me. But I also had a couple 32-bit apps I relied on, as well as a number of 32-bit games I enjoyed playing now and then. As time went on, though, there were more and more current apps that I couldn't update to the latest versions, as they all required something newer than Mojave.

(I wasn't a complete macOS luddite—my 14" MacBook Pro runs Ventura, and that's what I use when supporting Many Tricks customers.)

After the update, I remembered one of the bugaboos about Ventura: Apple, in their infinite wisdom, removed the Locations feature from the Network System Settings panel.

[continue reading…]


An anywhere switch to control HomeKit devices

I recently assembled an IKEA cabinet and shelving in the corner of a room. It's a darker corner, so I added lighting to the cabinet and the shelves, all of which is then plugged into a HomeKit-compatible power plug. I can now easily turn the lights on and off with Siri, but I wanted to have a more-traditional wall switch, too.

As the wall outlet isn't switched, the "real" solution would have involved hiring an electrician to cut holes in the wall and run a new line to a new switch, followed up by a fair bit of drywall repair, texture, and painting. I didn't want to go that route.

Instead, I found Belkin's Wemo Stage Scene Controller1Apple sells this on their site, too, but at a much higher price., which promised an install-anywhere switch for any HomeKit connected devices.

(Note: I don't know if this thing works outside the USA or not; I found a note on their site indicating it may not work in the UK, but that's all I was able to find.)

I bought one to test, and after the first day, I was preparing to return it and write a very scathing review…
[continue reading…]


Easily convert (some?) AVIs to QuickTime-compatible files

Here's another entry in my "remind myself without searching the entire internet" series of posts. I often want to convert a non-native video into a QuickTime-compatible format. In one oft-repeated use, I have a time lapse camera that outputs AVI files that QuickTime cannot read. Using Don Melton's Other Video Transcoding tools, converting between the two forms is pretty easy:

other-transcode --hevc --mp4 input_file.m4v

The output file will reside in the same directory, with the same name, but with the mp4 extension. I know there are tons of ways to do this, and many offer much more control over the final quality. For my time lapse camera videos, though, the quality is fine and this is really easy to use.


Merge multiple movies into one while minimizing file size

I had two short video clips I wanted to merge into one, each about 8MB in size. I first did this using QuickTime Player's Clips feature, but the end result was over 100MB in size. For my second try, I switched to ffmpeg, which can be installed via Homebrew, MacPorts, or some other method.

This isn't quite as simple as typing one command, as ffmpeg wants to process a list of files to merge—it can't, without some Unix wizardry, accept a list on the command line. So step one is to create a text file (list.txt in my example) in the same directory as your video files. The file contains a list of each movie to be merged, one entry per row, like this:

file '/full/path/to/movie1.mp4'
file '/full/path/to/movie2.mp4'
file '/full/path/to/movie3.mp4'
etc.

Save the text file, then use this command to merge the movies into one:

ffmpeg -f concat -safe 0 -i list.txt -codec copy merged_movie.mp4

When done, you'll have one new movie with all of the listed movies, in the order in which you listed them. And best of all, the size won't balloon when you do so—using the same movies as I used in QuickTime Player, the finished file was just 28MB in size. This isn't limited to mp4s; you can merge any type of video that ffmpeg can handle.

And yes, this is another entry in my series of "remind myself" posts; I originally found the answer on Stack Overflow.