Skip to content

hackintosh

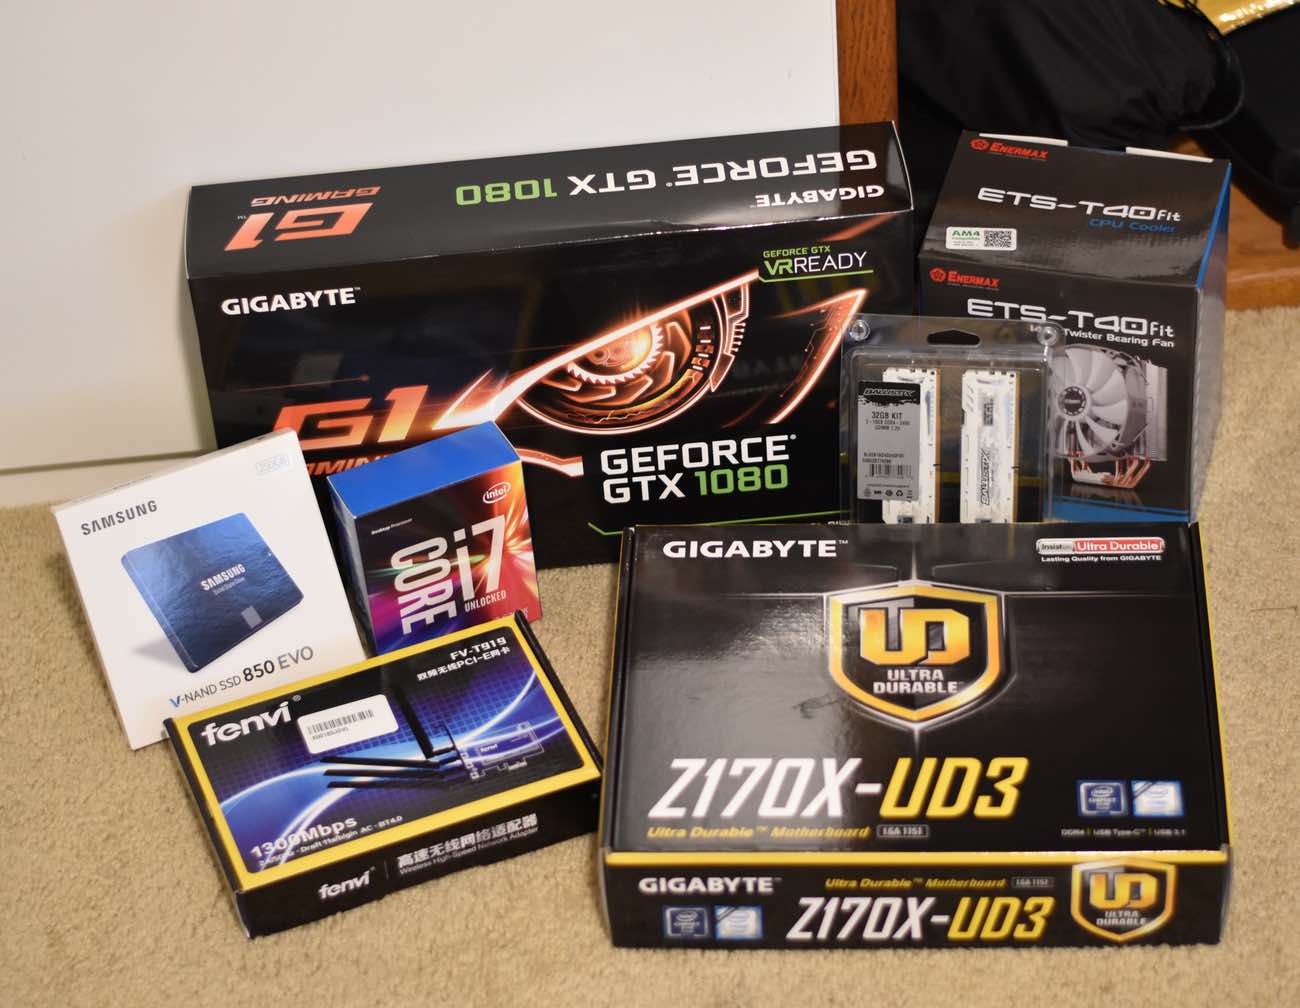
Frankenmac 2017: Troubleshooting tips

Earlier today, I managed to kill Frankenmac…again. Technically, it's "again again," because I also did so over the weekend. The weekend death was a black screen, same as the first, but this time, I managed to find the solution.

Today's death looked more serious—Frankenmac would reboot itself about a second after I started the boot sequence. I tried my backup drive, and it didn't work either—despite the fact that I tested it over the weekend. I couldn't boot in single user mode or safe mode from either drive. I could, though, boot into single user mode from the original USB stick I made for the install.

From there, with some help, I eventually got things working again. If you choose to build one of these things, you may find yourself with a similarly-dead machine at some point in time. Worst case, you should also be able to boot in single user mode from the USB stick, but then what? Here are a few tips on things you can do while booted in single user mode that might help debug the problem.

[continue reading…]


Frankenmac 2017: The devil is in the details

  • macOS

My Frankenmac project has reached the point where all the easy stuff is done, and only the hard stuff remains. To put it another way, the machine is 95% functional, but that last 5% is going to require more effort than anything thus far, I believe. Today, a look at what was easy (relatively speaking) and what's going to be hard.

The easy stuff

Going from nothing to a basically functional Mac was all relatively easy, save for a few moments of self-induced pain. To me, these were the easy parts of the project.

  • Buying the right hardware: Compared to nine years ago, when I last built a hackintosh, this part has gotten much simpler. If you stick to the hardware on the tonymacx86.com Buyer's Guide, you'll have the right hardware for the job.
  • Building the machine: If you've built a PC before, this step is pretty simple. You'll need to watch out for some gotchas, especially if you're trying to use a nine-year-old case and power supply, but it's still pretty simple.
  • Installing macOS: Nine years ago, I remember this step taking me a long time. Today, thanks to programs like UniBeast, Clover, and MultiBeast, it's relatively straightforward. You'll want to follow the guide closely, and you may hit an odd issue or two—USB ownership in my case—but getting macOS running was still relatively easy.
  • Using an upgraded video card: Thanks to NVidia's release of Pascal drivers for the Mac, getting my GTX 1080 video card running was a breeze.
  • Sleep/wake: I didn't have to do anything here; it just worked.
  • Handoff and Continuity: With the proper Fenvi card, this should just work…and it did for me.

At this point, I had (and still have) a machine that will boot MacOS and run just like an actual Mac—for most things. It's the "not most" parts that constitute the hard stuff…

[continue reading…]


Frankenmac 2017: How to back up a hackintosh

After last week's temporary death of Frankenmac, I decided it was important to back up the machine—even though I haven't yet migrated my data to it. Having a backup would let me quickly recover from any future self-induced stupidity. Backing up a hackintosh is generally the same as backing up a regular Mac, with one key exception: Making sure you back up the EFI partition, which is where are the special bits are stored to make your hackintosh boot.

Here's what I did to make sure I had a bootable backup of Frankenmac…

[continue reading…]


Frankenmac 2017: From BIOS to installed macOS

Today, a look at how my Frankenmac went from the basic hardware BIOS setup screen to a usable (though not yet fully complete or natively bootable) macOS machine. If you're just tuning in, you may want to catch up…

  • The Beginnings: Resources, parts list, and ordering. (Steps 1 - 3)
  • The build: Turning the parts into something that powers on…but that's about it. (Steps 4 - 5)
  • The roadblock: A new graphics card and an old case and old power supply do not mix.
  • Transplanted: Frankenmac moves into a new home, with a new power supply, to get around the roadblock.
  • The parts list: A constantly-updated list of the parts I used and the cost of each part.

Now that Frankenmac is functional in its new home—roadblock averted—it's time to explain how I got to that point from the BIOS boot screen of step five a few days back. It's a tale filled with drama, dread, doubt, defiance, and in the end, domination. Well, OK, it's pretty much none of that, but I had a string of "D words" in my head, and had to use them somewhere…

[continue reading…]


Frankenmac 2017: Transplanted

After hitting a roadblock with the graphics card connector in Frankenmac's many-years-old case, yesterday I picked up a new case and power supply, and set out to transfer the machine to its new home.

The power supply

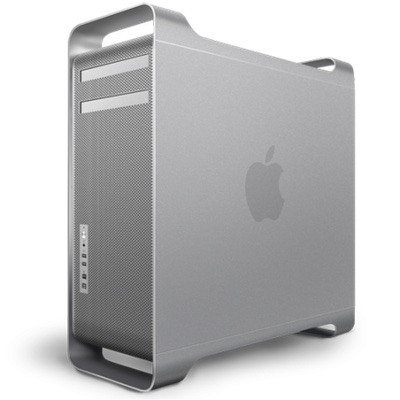
First, the boring stuff: The power supply I chose is a Thermaltake Toughpower 750W 80 Plus Gold. It works well, and (other than the CPU and motherboard power cables) is modular, so you only add the cables you need.

Very strangely (to me, anyway) is that Thermaltake packages its power cables in a nylon bag, as shown in the image at right. I'm not sure why—do people wander around with PC power supply cables often enough to require a sturdy carrying case? Very odd. Anyway, the power supply is nice and quiet, installed easily, and seems to do its job. But power supplies are boring…

[continue reading…]


Frankenmac 2017: The roadblock

Today I was going to write about the process of going from the BIOS boot screen to having macOS installed on Frankenmac 2017. That, however, will have to wait for tomorrow, due to a pretty big roadblock I hit while trying to get my GTX 1080 graphics card working. The roadblock looks like this:

On the left, that's my hand. More relevant to the problem is that six-pin PCIe connector (from the power supply) in my hand. On the right is my graphics card, with its eight-pin connector. Now, while this may look like a round-plug square-hole problem, I didn't think it was, mainly because of what I found on this page:

Because of both the physical design as well as the use of the sense signals, the six-pin power supply connector plug is backward compatible with the eight-pin graphics card socket. This means that if your graphics card has an eight-pin socket but your power supply has only six-pin connectors available, you can plug the six-pin connector into the eight-pin socket using an offset arrangement, as shown below.

And it's true, the plug fits just fine. And when I powered up Frankenmac, the card lit up and the fans spun. However, onscreen I saw a message about connecting the PCIe power cable to the card, so clearly, something was amiss.

[continue reading…]


Frankenmac 2017: The Build

The continuing story of my homebuilt Mac, which I've named Frankenmac 2017. In the first installment, I covered resources, choosing parts, and ordering parts. Today, what do once the parts arrive, as mine did yesterday1Not shown: Keyboard, mouse, display, and the case.

Everything in that shot came via Amazon, except for the CPU heatsink/fan at the back right. That required more driving around than I'd care to admit (one business gone, one out of stock, another unexpectedly closed for the day), but I finally found something I liked. And with that, I had everything I needed to build the machine.

Note: This page contains an updated list (with links) of the parts I'm using in the project.

Now that I had the parts, it was time to try to turn them into a computer…

[continue reading…]


Frankenmac 2017: The Beginnings

It's been almost exactly nine years (wow!) since I last ventured into the land of Hackintoshes, or homebuilt PCs that can run macOS.

Back then, I built and used one, then wrote about the machine for Macworld, and they even lab tested it, where it held its own against real Macs costing much more.

Fast forward to 2017, and I've decided to tackle the project again. Why? Oddly, because there is a new Mac Pro coming, but it's a ways away. I want something I can use in the interim, without spending a huge amount of money on. When the new Mac Pro ships—assuming it's not an enhanced trash can design—I plan on upgrading, and the homebuilt Mac will become a gaming PC.

As I'm not writing about the project for Macworld this time around, I'm going to document things here on the blog as I go along. In today's installment, I cover the first steps in the process: online resources and parts decisions.

[continue reading…]


The past, present, and future of the Mac Pro

I'll admit it, last week's news about the new Mac Pro got me excited about the future of the Mac for the first time in a long time.

Note that I am not in any of the target markets for a typical Mac Pro buyer—I don't crunch huge scientific data sets, I don't render massive 4K movies, and I'm not compiling huge programs on a daily basis. But I have always been a fan of the Mac Pro for one reason (up until the most recent one, at least): Customization. Having a customizable Mac means it can last longer, as you can make changes to keep up with technology. I have owned both the Motorola and Intel era Mac Pros, and they were truly excellent machines.

The past


One Mac to rule them all

The older Mac Pro (and its predecessors) were—as I recently wrote—wonderful machines, because you, the user, could do so much to them. You could add RAM, of course, but you can do that to most any current Mac.

You could also choose up to four hard drives to put inside the case—no messy cables, no need to worry about a child or pet disconnecting your drive while it's rendering a movie, etc. If you outgrew them, you could easily replace them. In my Mac Pro, I had an internal Time Machine drive (in addition to the external Time Machine drive.)

[continue reading…]