Today, via a link posted on Six Colors, I read Steven Acquino's The Touch Bar Makes the Mac More Accessible to Me, in which Steven shares his positive experiences with the Touch Bar:
Where it shines considerably is as an alternative to keyboard shortcuts and the system emoji picker. Tapping a button on the Touch Bar is far more accessible than trying to contort my hands to execute a keyboard shortcut or straining my eyes searching for an emoji.
Usability is definitely an individual thing, and Steven makes a good case for why he likes the Touch Bar. However, Steven doesn't mention a fundamental issue with the Touch Bar. Nor does Marco Arment in his Fixing the MacBook Pro article. To me, this unstated issue is the main problem with the Touch Bar, and it's one that Apple can't fix with new features or tweaks:
You cannot use the Touch Bar without looking at it
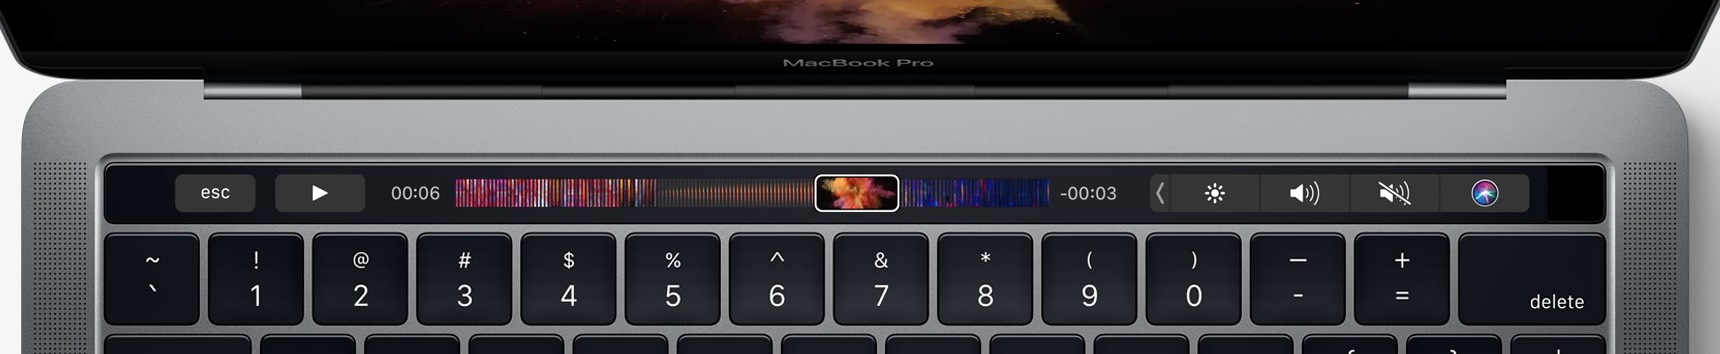
The Touch Bar, despite its name, is actually an Eye Bar: It forces your eyes off the screen, down to the Touch Bar, back up to the screen, repeat ad infinitum. There's nothing physical about interacting with the Touch Bar, aside from using your finger: There are no defined button areas, and there's no haptic feedback when you tap something. So you absolutely must look at the Touch Bar to interact with it.
When the new MacBooks were released, I spent about 30 minutes testing a Touch Bar-equipped version in an Apple Store, and this constant moving of my eyes' focus from keyboard to screen to keyboard to screen to…well, you get the idea…was incredibly disruptive. To use the Touch Bar, I'd have to change my focus to the keyboard, then refocus on the screen, taking time to find my active window and locate the mouse cursor. This did not make for a pleasant user experience.
As but one example, Steven mentions using the Touch Bar for zooming:
In addition, the Zoom feature—one of the Touch Bar’s many accessibility features—makes seeing controls much easier.
Granted, there are some extra capabilities in the Touch Bar zoom, but using the Touch Bar for zoom seems infinitely harder—and more disruptive—than my preferred approach:
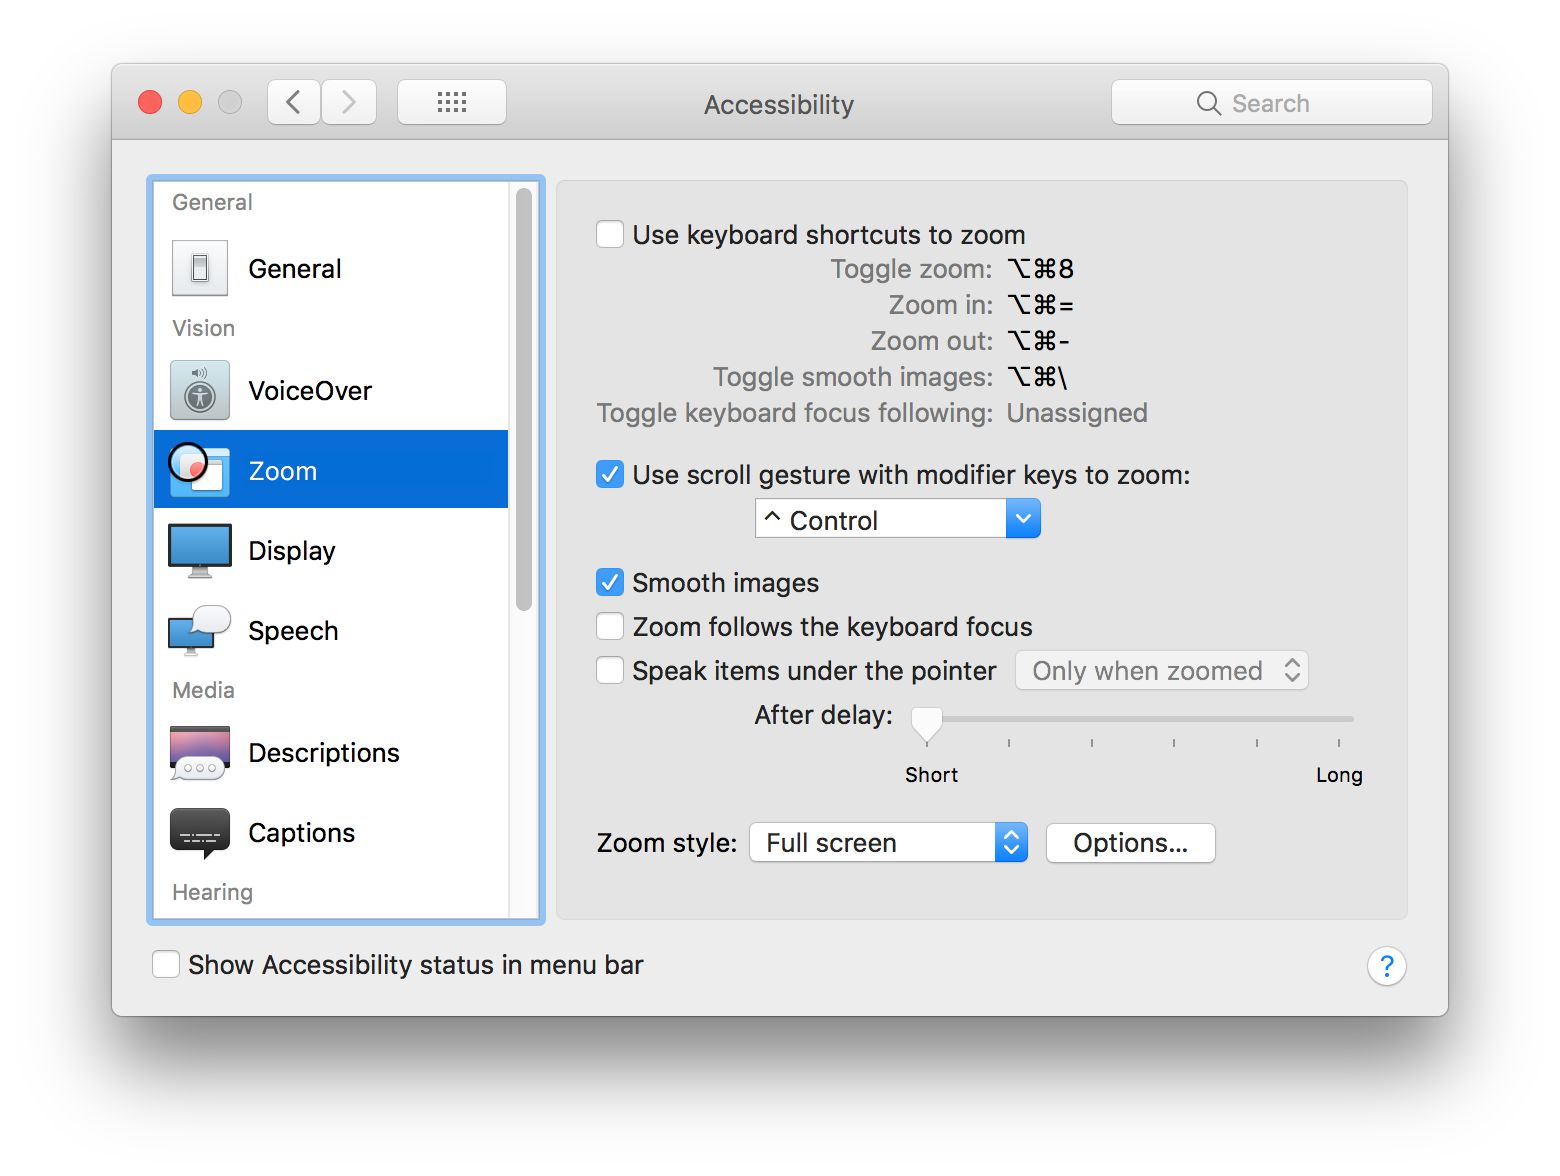
You can really customize zoom in that panel, including making it usable via the keyboard, setting zoom limits, and more. I keep it simple, though, with a mouse-assisted full screen zoom.
To zoom my screen, I hold down the Control key, then scroll my Magic Mouse with one finger, and I get infinite and easily-controllable zoom, all without ever taking my eyes off the screen. To zoom with the Touch Bar, I'd need to look at the Touch Bar while I tapped on it to get into zoom mode, then look back to the screen as I zoomed. That seems much tougher, and again, my eyes have to go from screen to keyboard and back—and do so again when I'm done zooming to exit zoom.
Using a Mac should be about doing things efficiently, and to me, the Touch Bar is an incredibly inefficient solution to a non-existent problem. I'm with Marco, and hope that future laptops either remove the Touch Bar completely or make it optional.