Update: Thanks to John for pointing out the obvious: The old remote works with the new Apple TV. So I guess I can go ahead and replace the one in the bedroom.
We recently changed how we use some of our rooms (eliminated a kids' play room), and as a result, decommissioned a television set. With that TV was a new Apple TV; at first I thought "Great, I can replace the old Apple TV in our bedroom."
Then I remembered the remote. For a device that I often use either while running on the treadmill (yea, it's in our bedroom) or in the dark while going to sleep, the new Apple TV remote is unusable: The touch pad is a nightmare to try to use while running, and it's tricky to use in the dark. It's also nearly impossible to tell which side's up in the dark.
So no, new Apple TV, you're not going to replace the old one in our bedroom. I'm not sure what I'll do with the new one; we have another TV it could go on, but there's no open HDMI port (it's an old TV with just two HDMI ports, and it's got an Xbox and a Blu-ray player). Time for an HDMI switch box?
I'd love a non-touchpad remote for the new Apple TV, but I don't see Apple going that direction at all.
In one of his recent "Hey Apple Fix This" columns for Macworld, Kirk McElhearn wrote about Apple's seemingly never-ending pursuit of thinness and its affect on the battery life of its products.
When I got this laptop, replacing a 13-inch MacBook Pro, I was very happy that it was thinner and lighter, but my goal was not to own a computer that could give me paper cuts; I wanted a computer that was practical.
While I completely agree with Kirk about the stupidity of pursuing thinness at the cost of better battery life, as a work-at-home person, the battery life of my Apple devices isn't usually an issue…until I have to take a trip, that is. Recently, I headed to San Francisco for a special "Thanks Sal!" dinner, thanking Sal Soghoian for all he's done for Mac automation over the last 20+ years. This was a very short trip—a 75 minute flight, one night away from home, then 75 minute flight back home. (Plus approximately 2,500 hours in the two airports.)
Because we're a small two-person company that writes Mac software, and it's my job to support our customers, I always have to bring my Mac (a late 2013 13" Retina MacBook Pro). And my iPhone, to contact my family/friends and check email. And my watch, because I've gotten used to having it around for notifications and weather and such. And to pass a bit of time in the hotel room, I'll usually bring my iPad.
Because of Apple's thinness decisions, only one of these devices (the iPad) can make this very short journey without needing a recharge. That meant I'd need to bring a Lightning cable (iPhone/iPad charge from computer), my Apple Watch charging cable (charge from computer), and my MacBook's power brick with wall adapter (I did leave the extension section at home, though).
All of that to support a simple overnight trip. Two-day battery life out of my devices would be so worth some extra thickness. (If I owned a newer laptop, it would have been even worse, as I would have needed some USB adapters, too, I'm sure.)
As an aside, what I didn't bring was an in-car charger, and that turned out to be a mistake. I drove a roughly 60 mile round-trip (2.5 hours in the car, with traffic) on Friday to see a friend, using my iPhone for navigation both directions. The rental car didn't have any USB jacks, so I was using my iPhone on battery power.
By the time I got back to the hotel, my phone had entered power saving mode. Thankfully, I was back early enough to charge it before the evening's festivities started. This seems like unusually high battery drain, but I don't do a lot of in-car navigating with my iPhone, so I don't know. (I used Apple Maps on the way there, and Waze on the way back.)
This week, I made a rare appearance on a podcast other than our own The Committed podcast. I was a guest on The Next Track, a podcast about music and related things, hosted by iTunes AppleScript guru Doug Adams and my regular The Committed podcast cohost Kirk McElhearn.
When I posted my 787 takeoffs and landings video, I ran into a weird problem: When embedded here, the video would play in Safari at 4K (2160p), but when viewed on YouTube, the max resolution available was 1440p. After failing with web searches, I asked Twitter about it…
…but didn't hear anything back. I pretty much gave up on the issue until today, when I stumbled across this article, which describes the exact problem I'm having. The summary of the article describes both the problem and the apparent cause:
What appears to be Google's shift to the VP9 codec for delivering 4K video on the YouTube homepage is preventing Safari users from watching videos uploaded to the service since early December in full 4K resolution, but not from viewing webpage-embedded videos in the same resolution.
Bingo! Google seems to now be using the open and royalty-free VP9 codec for 4K videos viewed on its YouTube site, but reverts to the H264 codec when those same videos are embedded on other sites.
Note that this issue only affects videos uploaded after December 6, 2016:
Videos uploaded to the service prior to Dec. 6 in 4K resolution can still play back in full 4K resolution on Safari from the YouTube homepage.
I was curious about which macOS browsers this issue affects, so I thought I'd do a little experiment…
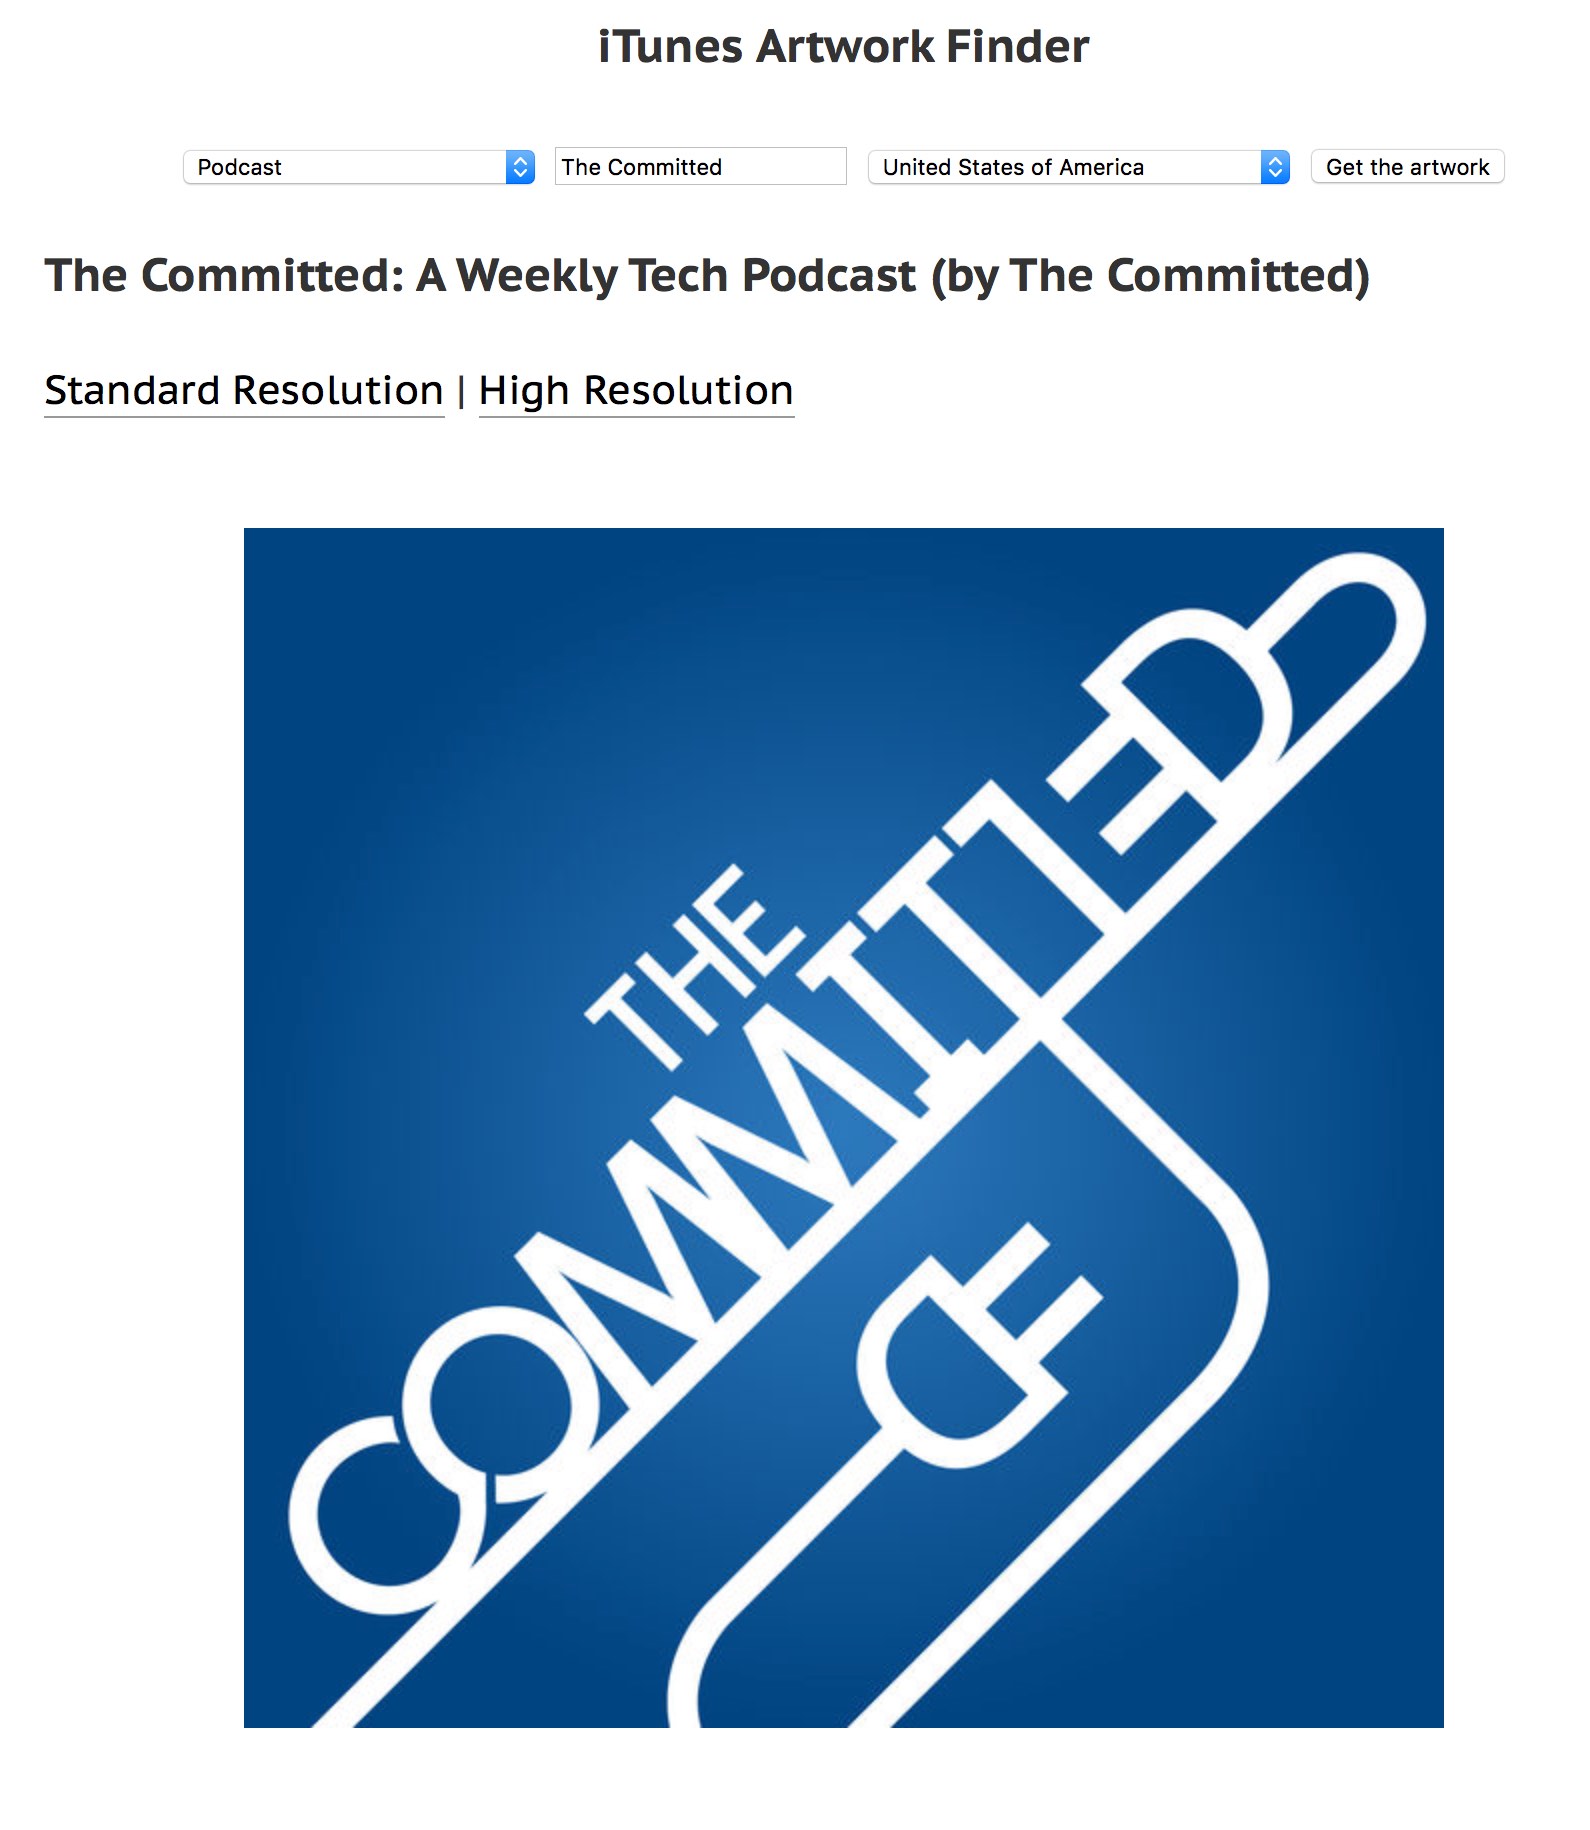
Ever want to grab the cover art for some album? Or have you ever wanted the full-size icon from an iOS app? Or the cover image from a movie or TV show? A podcast's icon? Ben Dodson hosts an excellent web-based tool that lets you do all that and more: The iTunes Artwork Finder.
Usage is about as simple as it gets: Pick a category, enter your search term, set the geographical region, and click Get the artwork.
Note that this only works for things available from the iTunes Store in the specified region, so you can't use it to find cover art for that digitized copy of some obscure record you found at an underground music store in New York City back in 1973.
Also note that if you have your own web site, you can host your own artwork finder, as Ben has made the code available for all. I wouldn't recommend making it publicly available, though, unless you have bandwidth to spare—a single search for "Friends," for instance, returned about 25 high-resolution images.
Here's how I set it up on our family's web site; it's really easy to do, and it works great:
Download the zipped archive from GitHub.
Create a new folder on your server. I called mine getart.
Upload the two files (php, js) from the archive into the folder.
Add basic HTML tags (html, head, body) to the stub of HTML shown on the GitHub page, and save it as index.html in the same folder. If you like fancy and have time to spend, go ahead and pretty it up with CSS and layout. I just left it bare.
That's all there is to it; you can now look up artwork by loading http://yourdomain/getart (or whatever you called it) in your fave browser.
During today's recording of our The Committed podcast, Ian mentioned a site he uses to check for sometimes hard-to-acquire Apple products. The site, iStockNow, is very nicely designed and makes it really simple to check availability not only at your local stores, but also globally.
Start by clicking the left-side filters section for the products you'd like to check on, then view the map on the right to see where they're in stock. For example, a search for the 15" MacBook Pro Touch Bar in Space Gray shows that it's available throughout North America, except in Mexico City:
But if you search for a 42mm Apple Watch in Stainless Steel in retail stores, you'll see that most of North America is a sea of red. Zoom in on the map, though, and there are some stores with stock:
When you find a store with inventory—the green pushpin—click on it to get the details of that store's inventory:
If you're looking for something particularly hard to find—cough AirPods cough—iStockNow may just help you secure your item. According to Ian, at least, that's exactly how he got his AirPods!
First, let me say we know that this took too long for many of you. It's been three years since we last updated the Mac Pro, but we've been working super hard on it. Years and years of work went into what I'm about to show you. This thing is packed with amazing technology, and we think you're going to love it! So here it is…
My method of ripping Blu-ray discs relies on Don Melton's video_transcoding tools. While these tools work great, they are command-line only (i.e. Terminal required). In my guide, I glossed over the installation bit, referring back to Don's basic guide. But for those new to Terminal, even Don's instructions may be too light on the details.
Hence this detailed installation guide for Don's video_transcoding tools. This guide walks a new user through every step of the process, hopefully getting even someone brand new to Terminal up and running with Don's tools. This will only be of interest if you're having trouble getting the video_transcoding tools installed. If that's you, though, hopefully this will be helpful.
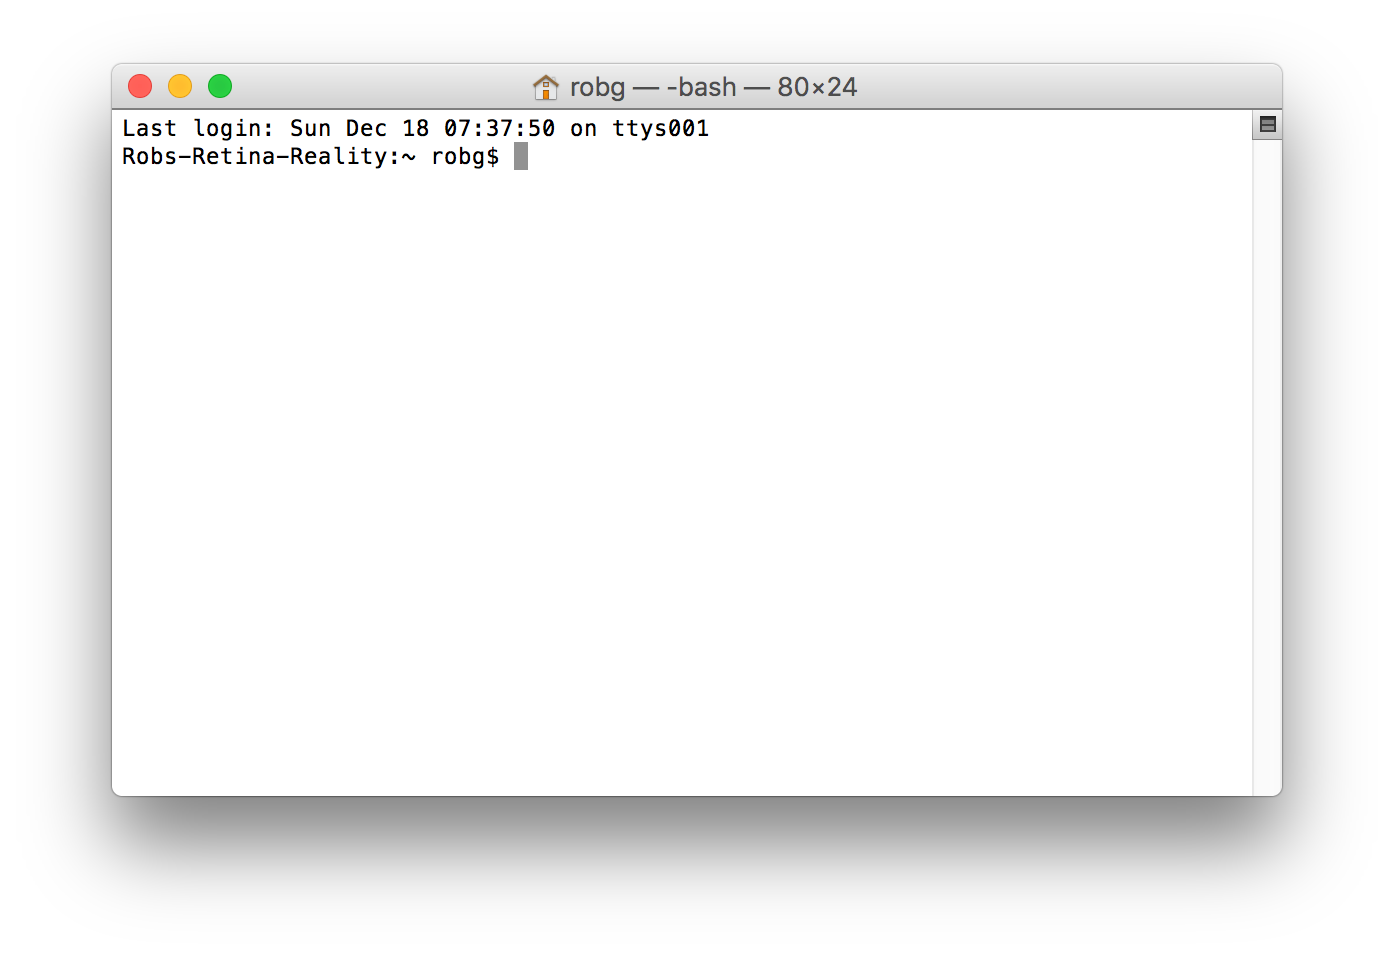
The entire installation of the video_transcoding tool set and all its dependencies will take place in Terminal, which is the direct line to the Unix core of macOS. Open Terminal, which you'll find in /Applications > Utilities, and you'll be greeted by a window with some text; something like this:
This lovely interface is where you'll spend the next chunk of time, installing the video_transcoding tools, and all the programs it uses to get its work done.
Note that this guide is not a detailed introduction to Terminal or Unix. (There are manysuchguides on the net, and if you're interested, they're well worth reading.) This guide is focused solely on how to use Terminal to install the video_transcoding tools, not how to use Terminal on its own. So let's get started…
Once a month, I download roughly 25 gzipped (.gz) files from Apple—these are our Mac App Store sales reports, with one file for each App Store region. I could have Safari expand these files (via the "Open 'safe' files after downloading' item in its preferences), but I prefer to leave that option unchecked. (Why? I often download archives that I want to leave archived, and I like to keep originals of many of the things I download).
If you work with lots of compressed files, you're probably familiar with what happens in Finder (see note) when you go to expand any semi-large number of files: The infamous Dancing Dialog™. It looks something like this…
[Note: Technically, this isn't Finder, it's Archive Utility doing the expansion. But this is the service that Apple provides to expand compressed files, and it's what 99% of macOS users will use. It can be changed via the Get Info dialog, but very few people will take that step. So to most users, it seems it's Finder handling the expansion. For ease of reference, I'm going to say it's Finder doing the expansion.]
Not only is this randomly-resizing dialog box visually annoying, it turns what should be a super-fast process into one that takes a ridiculous amount of time. The end result is that users think they have a slow machine—"it took over 12 seconds to expand 25 tiny little archives!"—when what they really have is a horrendously slow GUI interface to a super fast task.
Just how fast is the task, if the GUI doesn't get in the way? Thanks to the Unix core of macOS, we can answer that question using Terminal, the geeky front-end to the Unix core. The Unix command to expand .gz archives is gzip; so to expand all the .gz files in a folder (and keep the originals), you'd use this command in Terminal:
gzip -d -k *.gz
If you try this, you'll find out it's nearly instantaneous—press Return, and the files are expanded. Unix actually gives us a way to see exactly how fast it is, via the time command:
$ time gzip -d -k *.gz

real	0m0.013s
user	0m0.002s
sys	0m0.005s
This was for a set of 24 .gz archive files (on a solid state drive), and the real line in the output shows exactly how long it took to expand them all: 0.013 seconds. By comparison, I made a screen recording (with an onscreen stopwatch for timing) of Finder expanding the same 24 files; it took 12.8 seconds for all the dialog dancing to end. Think about that…
Expand 24 .gz files
Finder: 12.8 seconds
Terminal: .013 seconds
Terminal is 984.6x faster than Finder
To put those results another way, if expansion time is linear, gzip could expand 23,631 files in the time Finder takes to expand 24 files. That's nuts!
(You can watch this video for a visual comparison of expanding the same set of files in Finder and Terminal.)
So it's not the computer that's slow, it's the GUI interface to the computer that (in this particular use case) is incredibly, horrendously slow. And there's no need for it—the separate individual progress bars, appearing and vanishing in under a second each, provide no useful feedback to the user. They just slow down the task.
Finder (née Archive Utility) should just execute the task without any visual feedback (though it should pop up a window if there are exceptions). If visual feedback is really required, a window with a single progress bar for the entire task would be OK, but would still slow operations down.
This is a great example of how an everyday task can make you think you have a slow computer, when what you really have is a fast computer with a slow interface element. Given how often we all deal with compressed files, it'd be nice to see Apple clean up this mess. Until they do, however, you can harness the power of Unix—even while in Finder—to speed up the task. Here's one way to do just that.
Back in 2013, Apple introduced the new Mac Pro, an amazing wonder of design. But it was also a study in compromise for "Pro" users, requiring all peripherals to be externally attached, and not allowing for any after-purchase upgrades (video card, CPU, etc.). It was also shockingly expensive.
I can only imagine how hard it must have been for Apple to try to build a perfect Mac "Pro" desktop for everyone. As nicely designed as the new Mac Pro was, it missed the perfect mark for many Pro users by quite a bit.
So how does Apple try to design one Mac that can satisfy a diverse group that encompasses design professionals, gamers, scientific researchers, video creators, and who knows what else? Quite simply, they shouldn't try, as such an exercise is destined to fail. (See "new Mac Pro," above.)
Instead, Apple should design one Mac that can become anything and everything to each type of "Pro" user. While that may sound daungting, the good news is that Apple's already done this in its recent past. And done it very well, I might add…
 Update: Thanks to John for pointing out the obvious: The old remote works with the new Apple TV. So I guess I can go ahead and replace the one in the bedroom.