The past, present, and future of the Mac Pro
I'll admit it, last week's news about the new Mac Pro got me excited about the future of the Mac for the first time in a long time.
Note that I am not in any of the target markets for a typical Mac Pro buyer—I don't crunch huge scientific data sets, I don't render massive 4K movies, and I'm not compiling huge programs on a daily basis. But I have always been a fan of the Mac Pro for one reason (up until the most recent one, at least): Customization. Having a customizable Mac means it can last longer, as you can make changes to keep up with technology. I have owned both the Motorola and Intel era Mac Pros, and they were truly excellent machines.
The past
One Mac to rule them all
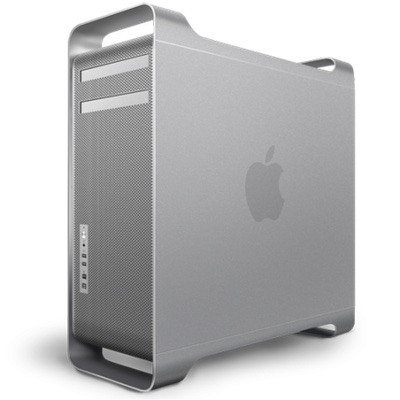
The older Mac Pro (and its predecessors) were—as I recently wrote—wonderful machines, because you, the user, could do so much to them. You could add RAM, of course, but you can do that to most any current Mac.
You could also choose up to four hard drives to put inside the case—no messy cables, no need to worry about a child or pet disconnecting your drive while it's rendering a movie, etc. If you outgrew them, you could easily replace them. In my Mac Pro, I had an internal Time Machine drive (in addition to the external Time Machine drive.)
 Mac OS X 10.7.5: