View charts for stocks in the mop Terminal app
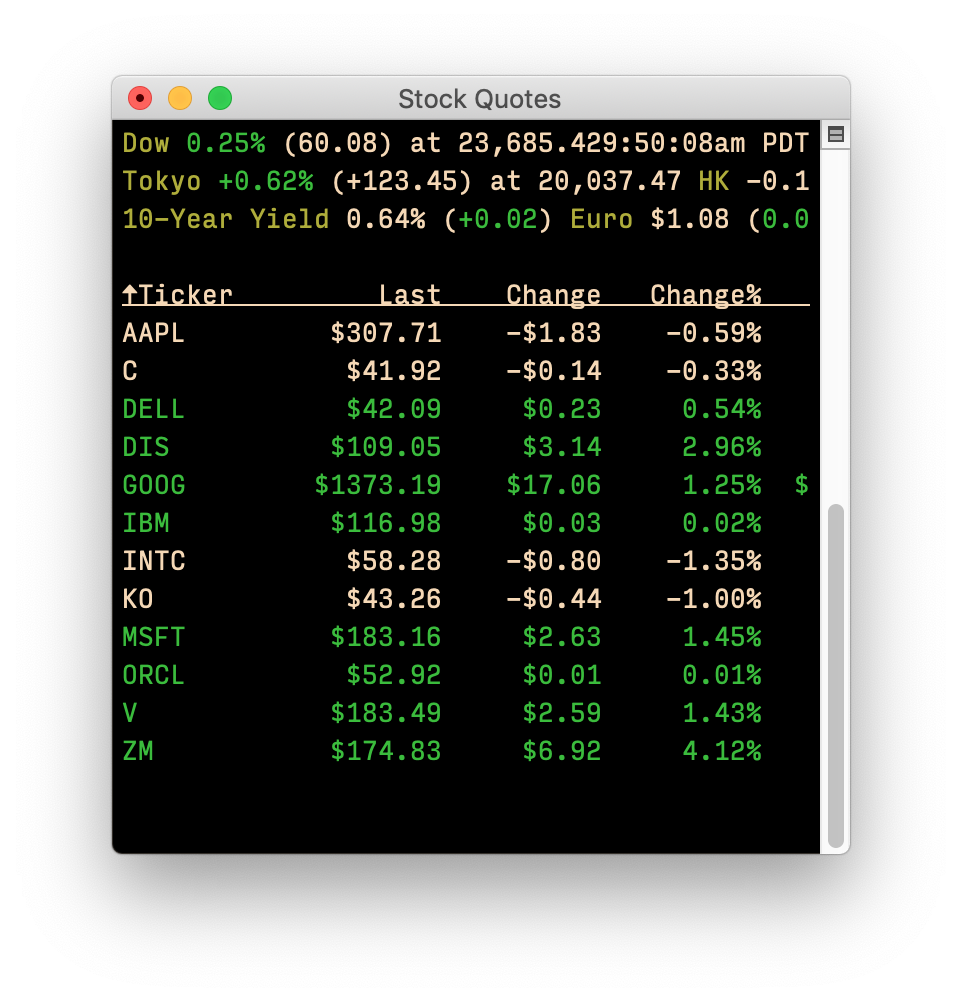
Yesterday, I noticed that the Stocks Dashboard widget in Mojave was no longer working. I couldn't find a similar (small window, always there, only stock prices) app that did what I wanted, but I did discover mop, a Go program that runs in Terminal. Using mop and Terminal's ability to save a window layout, I was able to craft a solution that worked for me.
Then commenter smayer97 asked…
Any solution to replace the mini-graphs at the bottom of the old Dashboard widget?
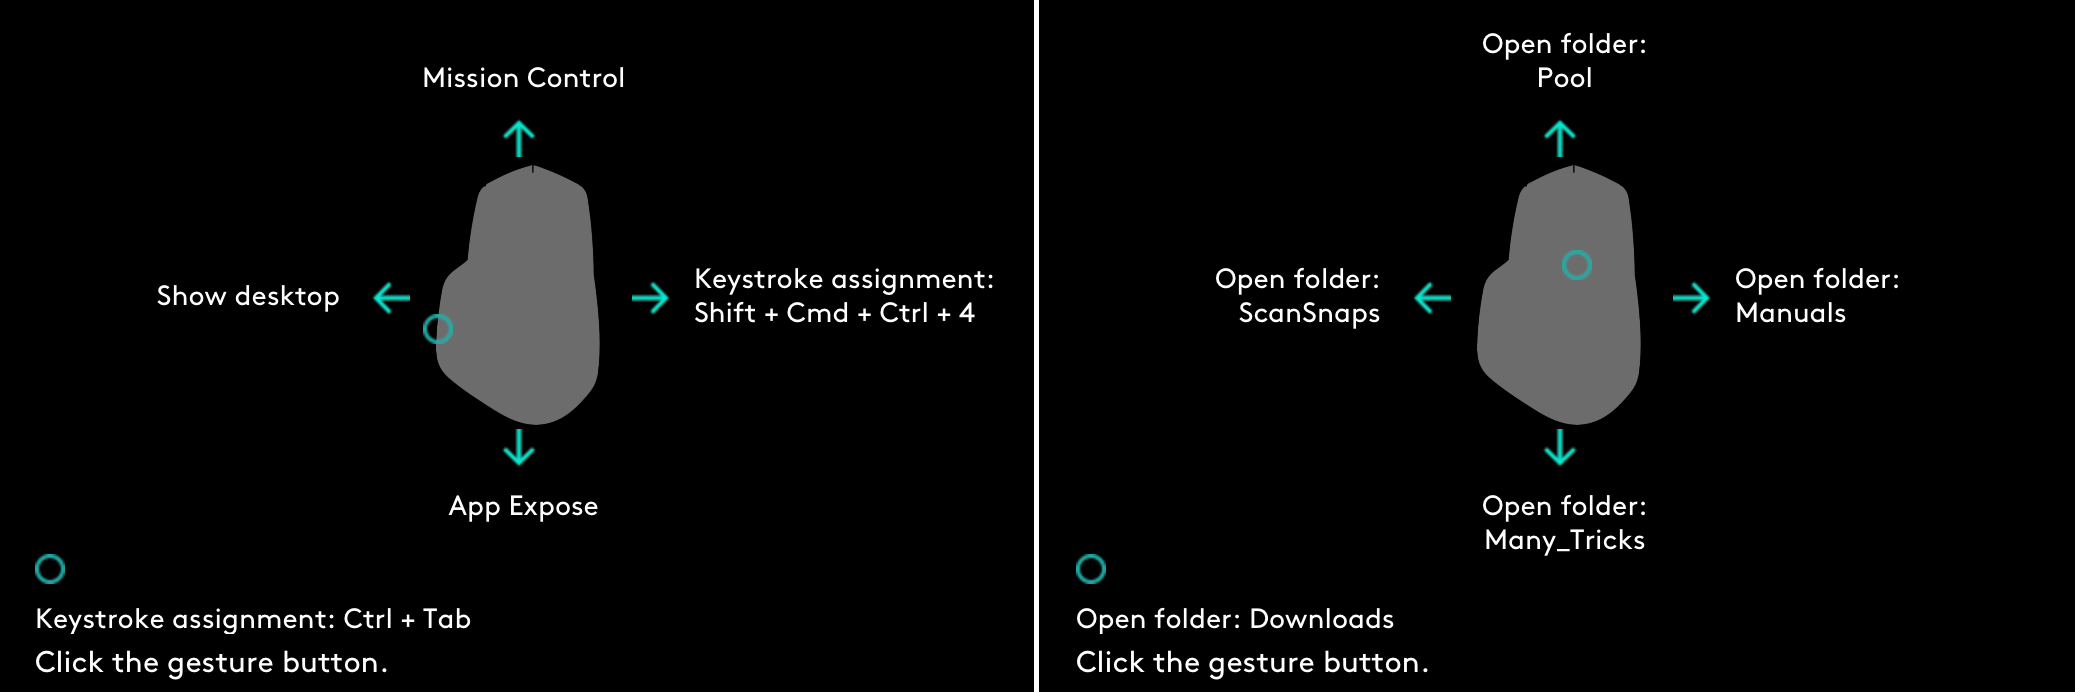
I didn't pay much attention to the graphs in the widget, so I hadn't considered them in my solution. And there's no way I was going to find a tidy graphing solution that also worked in Terminal. What I came up with isn't quite as convenient as having the graphs available at all times, but it's pretty close—I just have to click on a ticker symbol while holding down some modifier keys:
As you might have guessed, this is powered by a Keyboard Maestro macro, and I love how well it works.
 I have two displays, so I just dedicate a small corner on one of them for the Dashboard widget, which I detach from the Dashboard using an old but still functional