Skip to content

macOS

Bring the Buddy List window back to High Sierra’s Messages

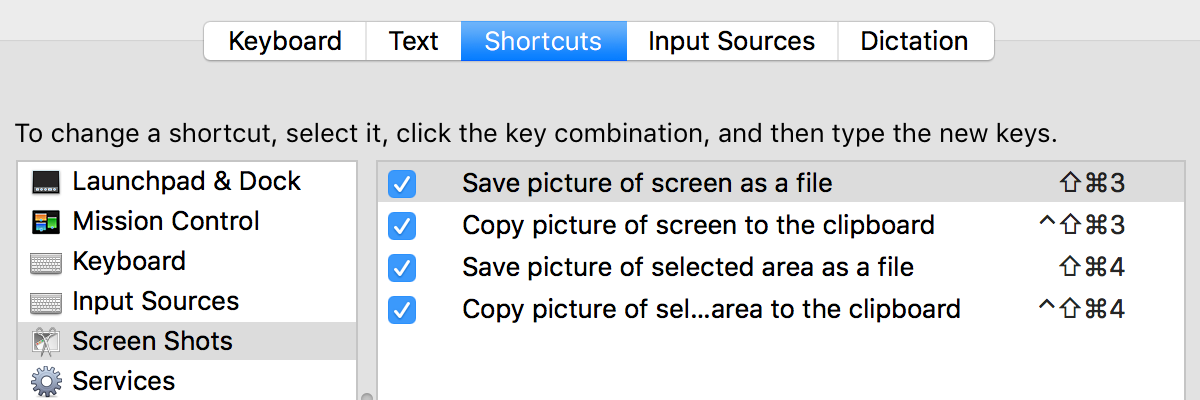
With the release of High Sierra, Apple removed the last vestiges of support for AOL's AIM protocol in Messages: You can no longer login to an AIM account. Yes, this is ancient tech. But it had one feature that a small group of my friends, family and coworkers relied on: The Buddy List window, as seen at right.

The buddy list was a great way to know if someone was available to chat or not—unlike Messages, which simply assumes that it's OK to text someone anytime. You could also customize the away message, to let someone know you're on the phone or you'll be back in 10 minutes or whatever.

As someone who works all day at my desk, the buddy list was a nice way to let friends and coworkers know when it's OK to talk and when I was busy. Also, I could keep these chats exclusive to my Mac, and not have them appear on all my devices, which was a nice benefit (no messages received when I didn't want to receive them).

Alas, High Sierra took that all away…or did it? It did not, as it turns out—the above screenshot was actually taken in High Sierra. The solution? Jabber, another ancient (but open source, unlike AIM; history) messaging protocol.

[continue reading…]


Making some marks on some iPhone 8 benches

With the arrival of my iPhone 8 Plus and its A11 Bionic CPU, I thought it'd be interesting to compare its benchmark performance (for the CPU and GPU) with some of the other gear in our home—iOS devices, Macs, and even a PC and a Linux box. In total, I tested 15 devices.

How did I test? I turned to Geekbench, which you can run on MacOS, Windows, and Linux (anywhere from free to $99), as well as on iOS ($.99). It has tests for both the CPU (using single and multiple cores) as well as the GPU (OpenCL and Metal on iOS/macOS; OpenCL and CUDA on Windows; CUDA on Linux).

What follows is far from a scientific study; I was just curious how the CPU and GPU in the iPhone compared to other tech gear in our home. As such, I didn't run the tests under "ideal lab conditions," I just ran them—one time per machine, with no special setup other than some basic stuff…

[continue reading…]


Create a savable list of 32-bit apps

Apple has announced that 32-bit apps have a limited future on the Mac: They'll be fully supported in this fall's High Sierra release; macOS' 2018 release ("Really High Sierra") will "aggressively warn" users about 32-bit apps, and I would assume, they won't work at all in the 2019 version of macOS ("That Was My Skull!").

But how do you know which apps on your Mac are 32-bit and which are 64-bit? MacObserver has an article that discusses the easy way, via the System Information app—just look in the Software > Applications section, and you'll be able to see a list of apps and a 64-bit Yes/No column. But seeing the list is all you can do—you can't easily save the list for future reference, for instance, nor can you copy/paste the info to another app.

So here's a geekier solution to generate a list of your 32-bit apps, saved into a text file for easy future reference. Open Terminal, and paste this command:

system_profiler SPApplicationsDataType | grep -B 6 -A 2 "(Intel): No" > ~/Desktop/non64bit.txt

This does the same thing as the System Information app, but it dumps the data in text form; the greater-than sign redirects the output to a text file named non64bit.txt, saved to your desktop. The grep is used to show only the 32-bit applications (the full line reads 64-Bit (Intel): No), and the -B and -A options are added to capture the lines before and after that line in the output.

This is probably not overly useful to most people, but I wanted a way to capture the list of apps, as I have over 290 32-bit apps on my machine, and it takes a while to run the System Information report each time.


Frankenmac 2017: The Build

The continuing story of my homebuilt Mac, which I've named Frankenmac 2017. In the first installment, I covered resources, choosing parts, and ordering parts. Today, what do once the parts arrive, as mine did yesterday1Not shown: Keyboard, mouse, display, and the case.

Everything in that shot came via Amazon, except for the CPU heatsink/fan at the back right. That required more driving around than I'd care to admit (one business gone, one out of stock, another unexpectedly closed for the day), but I finally found something I liked. And with that, I had everything I needed to build the machine.

Note: This page contains an updated list (with links) of the parts I'm using in the project.

Now that I had the parts, it was time to try to turn them into a computer…

[continue reading…]


Frankenmac 2017: The Beginnings

It's been almost exactly nine years (wow!) since I last ventured into the land of Hackintoshes, or homebuilt PCs that can run macOS.

Back then, I built and used one, then wrote about the machine for Macworld, and they even lab tested it, where it held its own against real Macs costing much more.

Fast forward to 2017, and I've decided to tackle the project again. Why? Oddly, because there is a new Mac Pro coming, but it's a ways away. I want something I can use in the interim, without spending a huge amount of money on. When the new Mac Pro ships—assuming it's not an enhanced trash can design—I plan on upgrading, and the homebuilt Mac will become a gaming PC.

As I'm not writing about the project for Macworld this time around, I'm going to document things here on the blog as I go along. In today's installment, I cover the first steps in the process: online resources and parts decisions.

[continue reading…]


The past, present, and future of the Mac Pro

I'll admit it, last week's news about the new Mac Pro got me excited about the future of the Mac for the first time in a long time.

Note that I am not in any of the target markets for a typical Mac Pro buyer—I don't crunch huge scientific data sets, I don't render massive 4K movies, and I'm not compiling huge programs on a daily basis. But I have always been a fan of the Mac Pro for one reason (up until the most recent one, at least): Customization. Having a customizable Mac means it can last longer, as you can make changes to keep up with technology. I have owned both the Motorola and Intel era Mac Pros, and they were truly excellent machines.

The past


One Mac to rule them all

The older Mac Pro (and its predecessors) were—as I recently wrote—wonderful machines, because you, the user, could do so much to them. You could add RAM, of course, but you can do that to most any current Mac.

You could also choose up to four hard drives to put inside the case—no messy cables, no need to worry about a child or pet disconnecting your drive while it's rendering a movie, etc. If you outgrew them, you could easily replace them. In my Mac Pro, I had an internal Time Machine drive (in addition to the external Time Machine drive.)

[continue reading…]


Use macOS VMs in VMware Fusion in retina mode

I use VMware Fusion often—I have virtual machines that span Mac OS X 10.6 to macOS 10.12.4 beta. I use the more-recent of these for supporting our customers on older versions of the OS, and keep the really old versions just for nostalgia purposes. (I have a bunch of non-macOS virtual machines, too, but they're not relevant to this tidbit.)

In all the time I've been using Fusion on my retina Macs, though, I've never enabled this setting…

…well, I enabled it once, but turned it off, because the end result was too small to see: In Retina mode, every pixel is an actual pixel, not a doubled pixel. On my 27" iMac, that meant the macOS VM thought it was running at (for example) 2560x1600 instead of a retina resolution of 1280x800. VMware even warns you of this in their Knowledge Base:

Mac OS X running in a virtual machine is limited to an approximate resolution of 2560 x 1600, and treats the display as a standard DPI device. This makes the text and icons to appear small in the OS X interface.

However, today I stumbled across this solution from Patrick Bougie—and it's brilliant in its simplicity. Patrick's post has all the details; I'll reproduce them here in abbreviated form, just in case his page ever vanishes.

[continue reading…]


One possible solution to macOS Sierra Bluetooth issues

A while back, I wrote about some very annoying Bluetooth issues in macOS Sierra: My headphones would pop and crackle when I moved my mouse around, and the mouse, keyboard, and/or trackpad would randomly disconnect and reconnect.

The other night, due to some stupidity on my part1I installed an app I suspected might have infected my Mac. It was a false alarm., I felt it was time to reinstall macOS Sierra. I logged into my other admin account, launched the Mac App Store, and then reinstalled macOS Sierra2There are other ways to reinstall, i.e. from the recovery partition; they're detailed on the support page..

The nice thing about the reinstall is that it's nothing like a reinstall from days of yore—you're not starting from scratch, so you won't have to reinstall everything when done. Apple makes this clear on the support page:

You can install macOS over the same version or earlier version, without removing your data. You don’t need to remove or disable the existing system first.

I say this with crossed fingers, but it seems that this reinstallation has potentially solved my Bluetooth issues. For the last two days, I've used my Bluetooth headphones without any static issues at all. In addition, none of my Bluetooth devices have disconnected. There is one comment from slajax on the original article that states this didn't work for them:

I’ve been having the same issue but with the gen 1 track pad and keyboard. I reinstalled the OS, PRAM etc replaced them with the gen 2 key board and track pad and also had the apple store replace the bluetooth antenna but still having the same issue.

If you've reached the breaking point with your macOS Sierra/Bluetooth issues, it might be worth the 30 minutes or so a reinstall takes. But please, if you go this route, make sure you have a good backup first, just in case. And if it works for you, please post in the comments (either here or on the original post), so that others might see, too. I promise to do the same if my now-working Bluetooth turns out to again be not-working Bluetooth.


Control inline video—and more—in Safari

This is another oldie but goodie from Mac OS X Hints, explaining how to enable the Debug menu in Safari. To do that, quit Safari, open Terminal, paste the following line, and press Return:

defaults write com.apple.Safari IncludeInternalDebugMenu 1

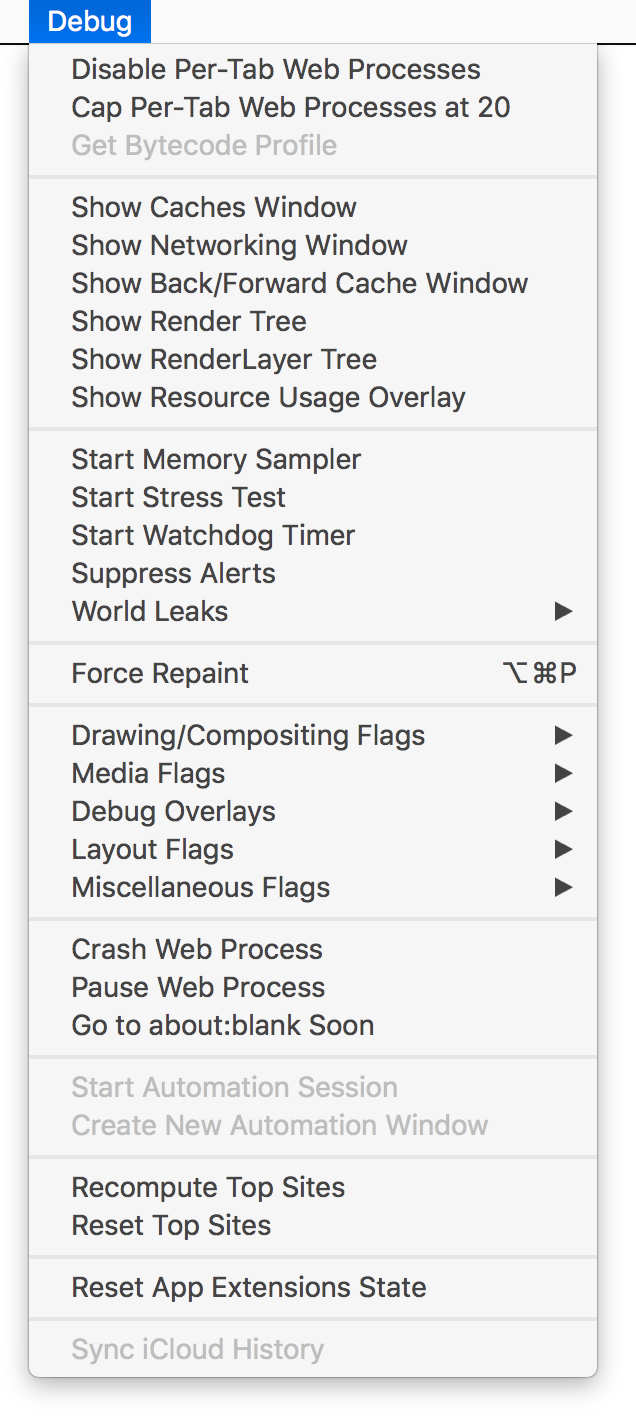
When you relaunch Safari, you'll have a (really long) Debug menu on the far right of Safari's menus. And just why might you want a Debug menu in Safari? Kirk McElhearn offers up one good reason:

Auto-play videos suck. They use bandwidth, and their annoying sounds get in the way when you’re listening to music and open a web page. …

But you can stop auto-play videos from playing on a Mac. If you use Chrome or Firefox, it’s pretty simple, and the plugins below work both on macOS and Windows; if you use Safari, it’s a bit more complex, but it’s not that hard.

In Safari, they key is the Debug menu, as Kirk points out. Go to Media Flags and select (activate) Disallow Inline Video, and that should be the end of auto-playing video. See Kirk's blog post for ways to do the same in Firefox and Chrome.

Beyond auto-play video, though, there's lots to geek out about in the Debug menu…

[continue reading…]


Capturing macOS screenshots and onscreen objects

I capture a lot of screenshots—both for this blog, and for our Many Tricks' help files and web pages. Depending on the project, I may need a full screen, a portion of a screen, a window, an object, or some combination of the above. As such, I use a few different ways of capturing screenshots.

First up are the built-in macOS screenshot tools, which you'll find on the Keyboard System Preferences panel, in the Shortcuts tab:

These four commands let you capture full screens or windows, directly to files or to the clipboard. And, for many users, these may be all you need. If that's you, great! (You may want to assign some easier-to-type shortcuts, as these—especially the clipboard variants—require some advanced finger gymnastics.)

I use some of these built-in tools, along with a key third-party app, to handle all my image capture needs.

[continue reading…]