I mostly shoot photos on my iPhone, because that's what I'm usually carrying. But when I want to go out and really take photos, I take my Fuji X-E3. The Fuji can take photos five different ways: At two levels of JPEG quality (fine and normal), those same two JPEG quality levels with an attached RAW version, and RAW only.
Most of the time, I shoot in the highest-quality JPEG format, which is more than good enough for my needs. But there are times, such as when shooting landscapes or flowers, when I want to have the original RAW file to edit, so I shoot in the RAW plus highest-quality JPEG mode.
The problem is that RAW images are huge—the Fuji's RAW files are over 50MB each, versus anywhere from 7MB to 14MB for a JPEG. Because of this, I try not to import the RAW+JPEG files into Photos. Instead, I import to a folder, then edit the RAW photo in a photo editor, output a final JPEG, and import that to Photos. (In very rare cases, I'll keep the RAW version, for a photo I may want to edit more in the future.)
Unfortunately, I wasn't so smart in the past, and I imported many RAW and RAW+JPEG photos to Photos—and I don't need the RAW versions at all. Some are pure RAW, and these I can easily find and fix (export, convert to JPEG, re-import). Unfortunately, most are in the RAW+JPEG format, and that's a problem: Once such photos are in Photos, there's absolutely no way to find them—which means there's no easy way to remove them.
[continue reading…]


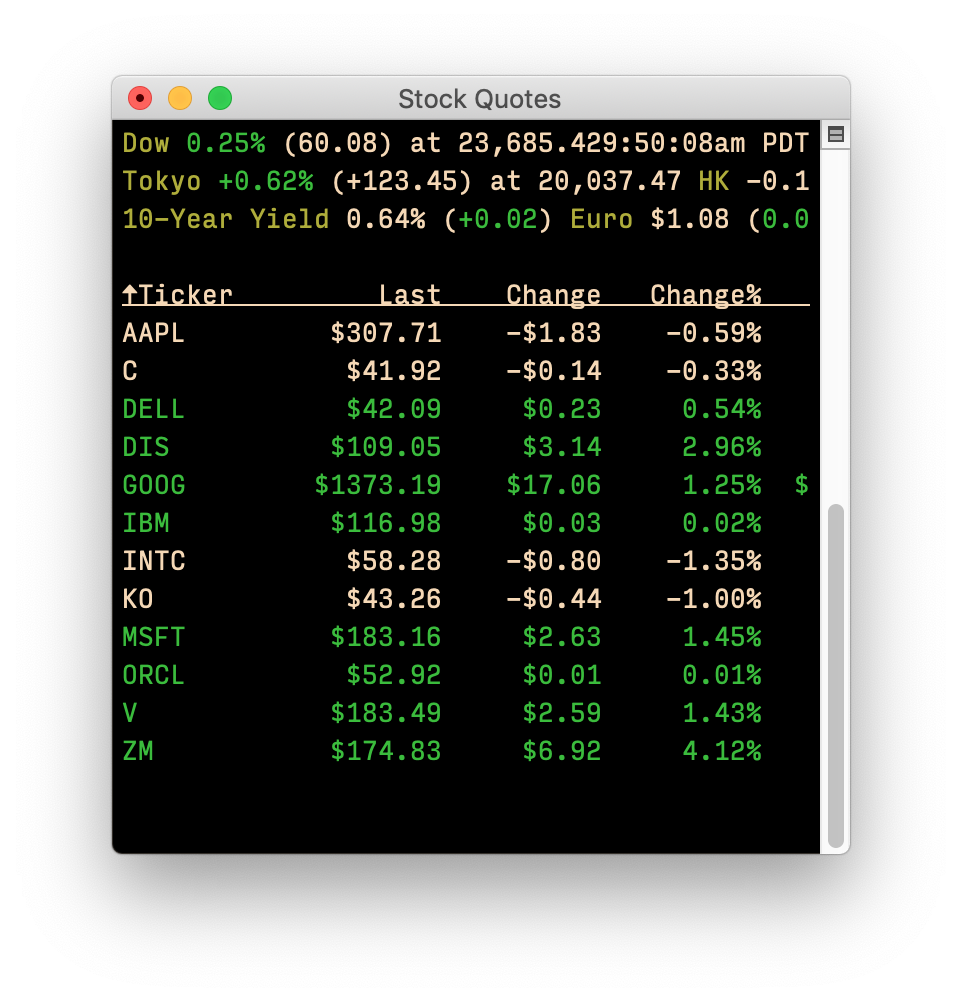
 I have two displays, so I just dedicate a small corner on one of them for the Dashboard widget, which I detach from the Dashboard using an old but still functional