When Mac Quicken 2018 was announced as subscription only, I vented on Twitter…
"Quicken is now sold on a membership basis."
Screw that—it'd cost me $50/year just for quote downloads, basically. #Quicken2007Forever
However, as part of my work on finding a replacement for Quicken 2007, I discovered that Quicken has done themselves something of a disservice with their marketing: Quicken 2018 is not a typical software subscription, it's more of a traditional model.
Note: For those who aren't aware, Quicken is
no longer owned by Intuit; they were bought by an investment bank. That's both good and bad. It's good that they're out from under Intuit's lack of interest in the Mac app, but it's possibly bad in that an investment group only buys a company for one reason: To later sell it at a big profit. However, to profit, you need to provide things people want, so New Quicken should be focused on providing excellent apps.
In a modern software subscription plan, as with Microsoft's Office 365 or Adobe's Creative Cloud, you only have rights to use the software while your subscription is active. Stop subscribing, and you can't use the apps any more. (Though I believe Office will run in view-only mode.)
But that's not how Quicken's subscription works. Quicken's subscription is backed by something they call the Data Access Guarantee, which insures you'll always be able to access your financial data. From that page, with my emphasis added:
…whether you renew your subscription or not, you'll always have full access to and ownership of your data. You can view, edit, export, and manually enter transactions and accounts, even after your subscription ends.
Access to online services, such as transaction download, quotes, and mobile sync, along with access to Quicken Support, will end if your subscription does.
Even if I stop subscribing, I'll be able to continue using Quicken 2018 (or 2019 or whatever) much the same way I use Quicken 2007 today: As a standalone app without access to online services or Quicken's support services. (Note that this doesn't apply to the Starter edition, just Deluxe and Premier. But Starter is very limited; I imagine most users will have at least Deluxe.)
This policy allays my fears about the subscription: If I decide I don't need the online services, I can stop subscribing and still use the app manually. If they had communicated this more clearly up front, I wouldn't have had any qualms with supporting their new approach, nor would I have vented on Twitter.
The ability to continue using the app after my subscription ends allays my main fear with subscriptions: Once you start, you're locked in because you lose the software if you ever stop paying. Thanks, Quicken, for taking this approach.
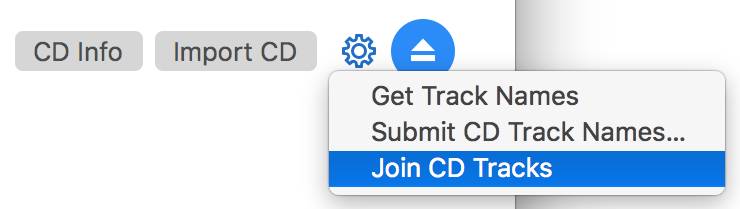
 Short of just trying the shortcut, there's a way to check from within Keyboard Maestro itself: Type the macro's activation keys into the search box, as seen in the box at right.