A while back, I wrote about opening Unix man pages in Preview, and this is still my preferred method of browsing man pages. However, there may be times where Preview is overkill, and you want to stay in Terminal, maybe for a short help file such as that for ln. But opening a new window by hand is a bit of a pain, and tabs won't work because you can't see both the window and the man page at the same time.
While browsing the old Mac OS X Hints site, I found this nice solution: Open man pages in a new Terminal window, one that's set up just for reading such pages. It looks something like this (though I've customized my setup; keep reading)…
Adding a few lines to your shell's startup file makes opening these 'in their own window' man pages as easy as opening 'regular' man pages.
Just noticed this post over on iMore…did you know that Time Machine automatically creates local backups on your laptop Mac? As described by iMore…
On Apple laptops, like the MacBook, MacBook Air, and MacBook Pro, Time Machine includes the added feature of creating local snapshots so that, if you disconnect your MacBook from its external hard drive, you'll still have backups stored on your internal hard drive so you can recover data if you need to.
While the iMore article points out how to disable/enable the feature (sudo tmutil disablelocal or …enablelocal in Terminal), here's a bit more detail not provided in the article.
First, this is not some hidden hack; you're merely changing a setting using an Apple-provided command line interface to Time Machine. Apple, for whatever reason, chose not to include this setting in the GUI, but you're not risking anything by making this change.
Second, you'll find the local backups in a root-only folder named .MobileBackups, at the top level of your hard drive. You can—sort of—see how much space they take up by selecting About this Mac from the Apple menu, then clicking on the Storage tab. On my MacBook Air, which has a 2GB local backup, I see 4GB of purgeable space, which I assume includes that backup.
To get the actual size of the local backup, run this command in Terminal:
sudo du -h /.MobileBackups/
Provide your password, then wait a bit. The last line of the output will be the total size of the folder, stated in gigabytes…
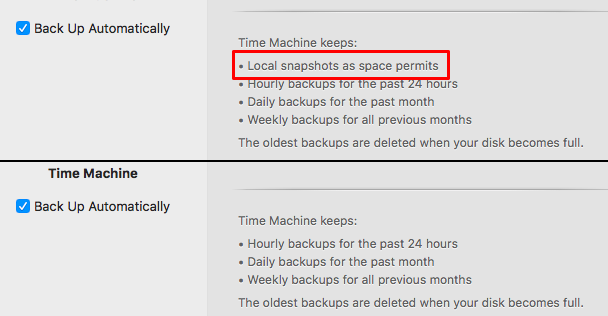
And finally, if you disable this command, how do you know you've done so, months from now when you've forgotten about this? Time Machine itself will tell you, on its System Preferences panel. (Sorry for the low-res shot; I only have local backups enabled on my 11" Air!)
As seen, after disabling the setting, Time Machine's System Preferences panel will no longer list local backups as one of the tasks it performs.
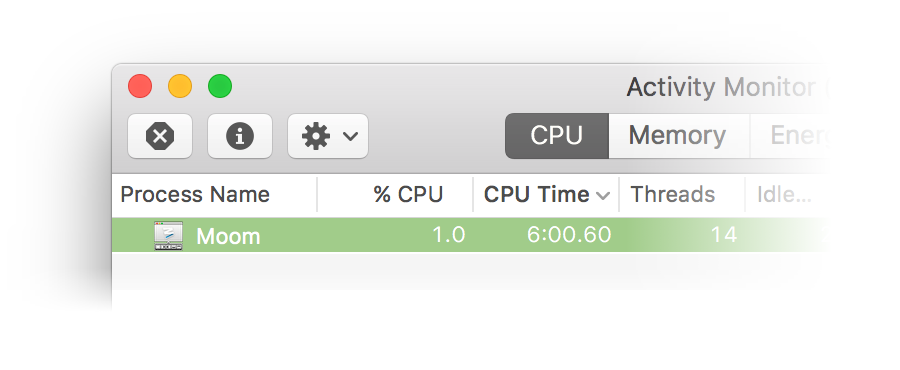
I was working on something with Peter about Moom and its disk usage (it doesn't use much), and I was curious as to just how long Moom had been running on my Mac. I last rebooted my Mac a week ago, but I often quit and relaunch our own apps to run test versions.
Finder has this info, but that requires finding the running app in Finder. I wanted a quicker solution. In Activity Monitor (and ps in Terminal), you can see how much CPU time an activity has taken…
…but that doesn't really help at all with knowing when the app (or process) launched. As long as you're in Activity Monitor, you can get the information by doing the following:
Click once on the app or process of interest.
Press Command-I or click the small 'i' icon in the toolbar.
In the new window that opens, click Sample, then wait.
When the sample is complete, you'll see its output, and included there is the selected item's launch date and time:
That's all fine if you're in Activity Monitor, but a bit of a pain if you need to launch it, find the app, run a sample, etc.
As you might expect, there's another way via Terminal: The lsappinfo command, which queries CoreApplicationServices about any app or process on your Mac.
Over the weekend, I was testing how some of our apps work when the CPUs are busy. One way to load the CPUs is to rip a Blu-ray disc, but I was looking for a more controllable CPU load.
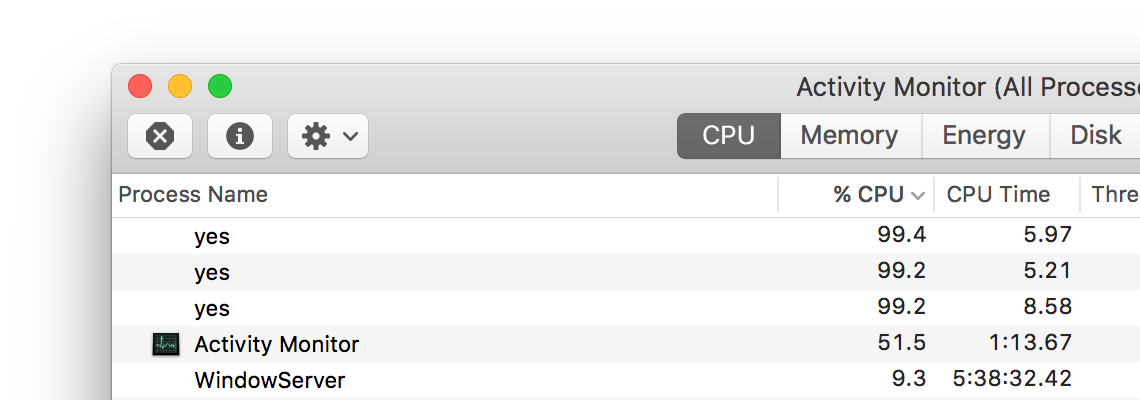
If there's an award for strangest Unix utility, yes might just be the winner. All it does is output y (or whatever you list after the y; the man page suggests an expletive) until you kill the task.
The above command sends the output (via the > redirect) to the null device, which discards it. The ampersand sends the job to the background, so you get your Terminal prompt back.
You can run this command multiple times, each loading the CPU even more heavily (the screenshot shows three yes tasks running). Keep an eye on Activity Monitor to see just how much CPU it takes—as shown above, it does a great job at loading the CPU.
You can kill the tasks by issuing the command killall yes in Terminal, or by quitting Terminal—you'll be told that quitting will terminate the tasks.
Really long-time Unix users—as in mainframe-based Unix—are probably familiar with fortune. This silly little program grabs a random line from a collection of files holding quotes, sayings, jokes, etc. The Unix I used many decades ago would print an entry from fortune each time you started a new session. Here are some examples of what might greet me each time…
"It's a dog-eat-dog world out there, and I'm wearing Milkbone underware." -- Norm, from _Cheers_
Mobius strippers never show you their back side.
All constants are variables.
Years ago, I had set up my Mac's Terminal to output a fortune each time I opened a new session (window). At some point, though, I forgot to set it up on a new system, so it was gone. While fortune isn't included in macOS' Unix core by default, there are many ways to get it back, and it's relatively simple to do so. Here's one way…
I recently explained how I captured a series of screenshots and turned them into a movie. While I was working on my tweet about the write-up, I thought an animated GIF of the final movie would be a nice way to show what it was I was trying to do. So that's what I wound up doing:
So how did I create the animated GIF from the movie file? I know there are any number of great apps that will do this (ScreenFlow, for one), but I had another thought: While working on the animated screenshot movie (which I created using ffmpeg), I had happened to read about ffmpeg's ability to create high quality animated GIFs, so I thought I'd give that a try.
While working on my massive Blu-ray ripping comparison, I wanted more information about what some of the transcode-video presets were doing. That is, if you pick --target big, exactly what settings are being used to rip the video?
It turns out there's --dry-run option for transcode-video that will tell you exactly that. (I've added some line breaks for readability here.)
1
2
3
4
5
6
$ transcode-video --dry-run --target big --mp4 Miss_Peregrine\'s_Home.mkv
What's neat is that you can also use this to see what the default options are for transcode-video when you don't supply it with any options. Just use the --dry-run parameter option but leave off any of the presets (i.e. --target big), and the output will show you the defaults.
In addition, you can use it on already-ripped media to get their details as well, regardless as to how you ripped the movie.
In a related vein, I was having issues with the above rip, because I thought that the surround sound track wasn't being ripped. Again, thanks to Don, I learned about a second command line option for transcode-video that reveals exactly what's in a ripped video.
My problem is that I often forget to do this, because—unlike most GUI Mac apps and the Mac App Store—there's no built-in "hey, there's an update!" system. Suddenly, two months and many revisions later, I finally remember (usually when I see a tweet about a new version of something.) So I thought I'd try to write my own simple update reminder.
I didn't really want a scheduled task, like a launchd agent—it's not like these tools need to stay current on a daily basis. (And one of them needs to run with admin privileges, which complicates things.) I just wanted something that would remind me if it'd been a while since I last checked for updates, and then install the updates if I wanted it to do so.
After mulling it over, I came up with a script that runs each time I open a Terminal window (which I do daily). The referenced script looks at the date on a check file, and asks me if I'd like to check for updates if that date is more than a week older than today's date. This is perfect for my needs: The reminder is automatic, but I can choose when to install the updates based on what I'm doing at the time. If it's been under a week since I last checked, nothing at all is different about my Terminal launch.
Read on for the script and implementation details. (Note: This is not written for a Terminal beginner, as it assumes some knowledge about how the shell works in macOS.)
Quite often, I find myself with a number of images (screenshots, typically) that I'll want to convert from one format to another. If you search the Mac App Store, there are probably 300 apps that will let you do this; many are probably free. You could also use Automator, which has some good image conversion abilities, but can't (for example) specify the quality of a JPEG conversion.
But the best way I've ever found is to use a tool that's been included with every copy of macOS since the release of Mac OS X 10.3 (Panther) in October of 2003: A command line tool called sips. Yes, it requires using Terminal, but it's quite easy to use. sips can modify one file, or any number of files, converting from one format to another. You can also use sips to resize images, rotate images, and more.
Basic usage of sips is straightforward. (The following is written for Terminal neophytes, so apologies for any over-explaining). Assume you have an image named Beach party.tiff that you'd like to convert into a smaller JPEG, but with a relatively high quality setting. Here's how you'd do it using sips:
Open Terminal, in Applications > Utilities.
Type cd, then press the Space Bar, then drag in the folder that contains the image(s) to be converted. (Alternatively, you can use this tip to directly open the selected Finder folder in Terminal.)
Type this, then press Return: sips -s format jpeg -s formatOptions 80 "Beach party.tiff" --out "Beach party.jpg"
When you press Return, sips will convert your image file—and it's really fast, even on larger files. The formatOptions item lets you set the quality of the JPEG in either percentage (as I used), or you can use words: low, normal, high, or best. Hopefully obviously, you specify the new filename after the --out string.
Note that the filename is enclosed in quotes. Those quotes are required, otherwise any spaces in your filenames will cause the command to break.
The real power of sips isn't in converting one file, though; it's in batch converting many files. Here's how to do that…
Today's tip goes well with yesterday's tip, which explained how to open any Finder item's folder in Terminal via Keyboard Maestro. Once in Terminal (and sometimes even when not in Terminal), I'll often want to check out the man page (help) for a given command.
You can do this directly in Terminal with man [name of command], of course, but then it opens on top of whatever you were working on, and you have to read it in Terminal. You could use another tab or window, but you'd still be reading in Terminal. There are times, too, when I'm writing about the Unix side of macOS, so I'm not even in Terminal, but still want to view a man page.
My solution to this problem is two different ways of doing the same thing: I open man pages as nicely-formatted PDFs in Preview. The method I use to get to that point depends on if I'm working in Terminal or not.
Update: I've modified the script and macro so that they properly handles two-argument man commands, such as man 3 printf.
In Terminal
Based on an old Mac OS X Hints tip, I created a very simple shell script:
Shell
1
2
3
4
#!/bin/sh
cmd=$@
man-t$cmd>"/tmp/$1.ps"
open"/tmp/$1.ps"
The key to this little script is the -t option on the man command. From the (hehe) man man help file, here's what that does:
  -t     Use /usr/bin/groff -Tps -mandoc -c to format the manual page,
         passing the  output to stdout. The default  output format  of
         /usr/bin/groff -Tps -mandoc -c is  Postscript, refer  to  the
         manual  page  of /usr/bin/groff -Tps -mandoc -c for  ways  to
         pick an alternate format.
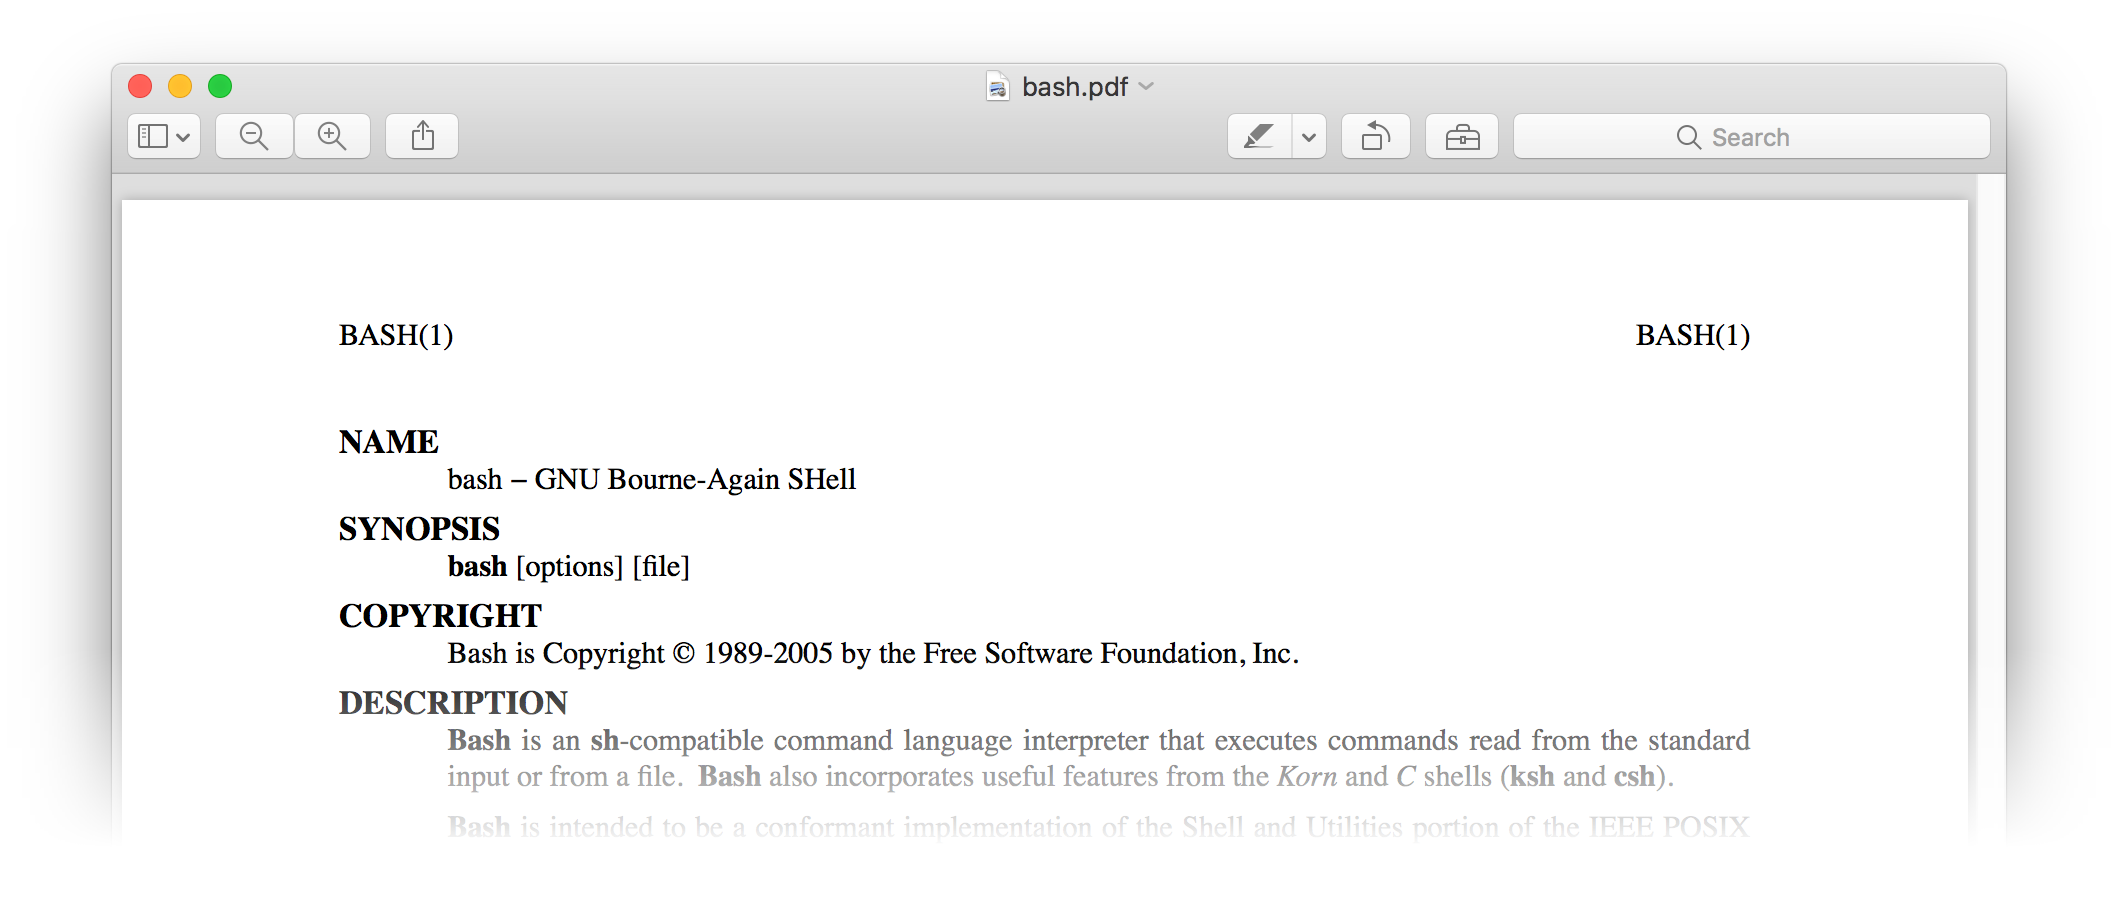
In other words, the -t converts the help page into a PostScript file, which is something that Preview can easily open (which is just what the last line of the script does).
I named this script preman, because it uses Preview to open man pages. Once saved, I made it executable (chmod 755 preman), and I can then open any man page in Preview by typing, for instance, preman bash.
The output is nicely formatted, and by opening the man page in Preview, my Terminal session is uninterrupted. A quick adjustment with Moom, where I have a saved layout to position Preview and Terminal, and I can scan the man page while working in Terminal.
But what about when I'm not in Terminal? For that, I basically implement the same shell script, but with it set up to run within a Keyboard Maestro macro.