Transforming text via Keyboard Maestro
Recently, Melissa Holt wrote about transforming text via the Transformations menu. After seeing this article, a reader named Hunter wrote to me with this comment:
Today in The Mac Observer Melissa Holt wrote about using the TextEdit/ Edit/ Transformations command to change the case of a sentence or paragraph. However, there is no option to perform, "Sentence Case", i.e., capitalize the first letter of the first word, and keep all other words in lower case.
Is there a way in Terminal, or maybe Keyboard Maestro to add this option to Transformations? It seems to me that the given choices have rather limited uses.
In addition to not offering sentence case, the Transformations menu has a few other drawbacks:
![]()
- Not all apps have a Transformations menu.
- Only three very basic transformations (upper, lower, capitalize) are supported.
- The transformations are buried in a sub-menu, requiring lots of mouse navigation to reach.
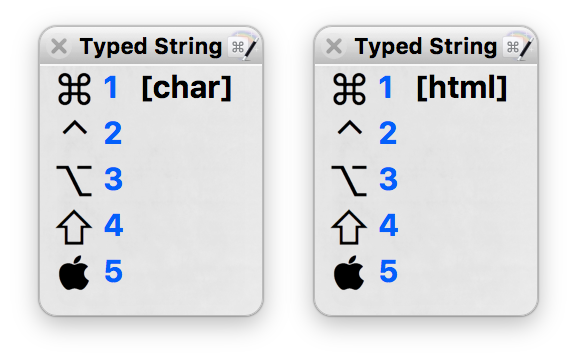
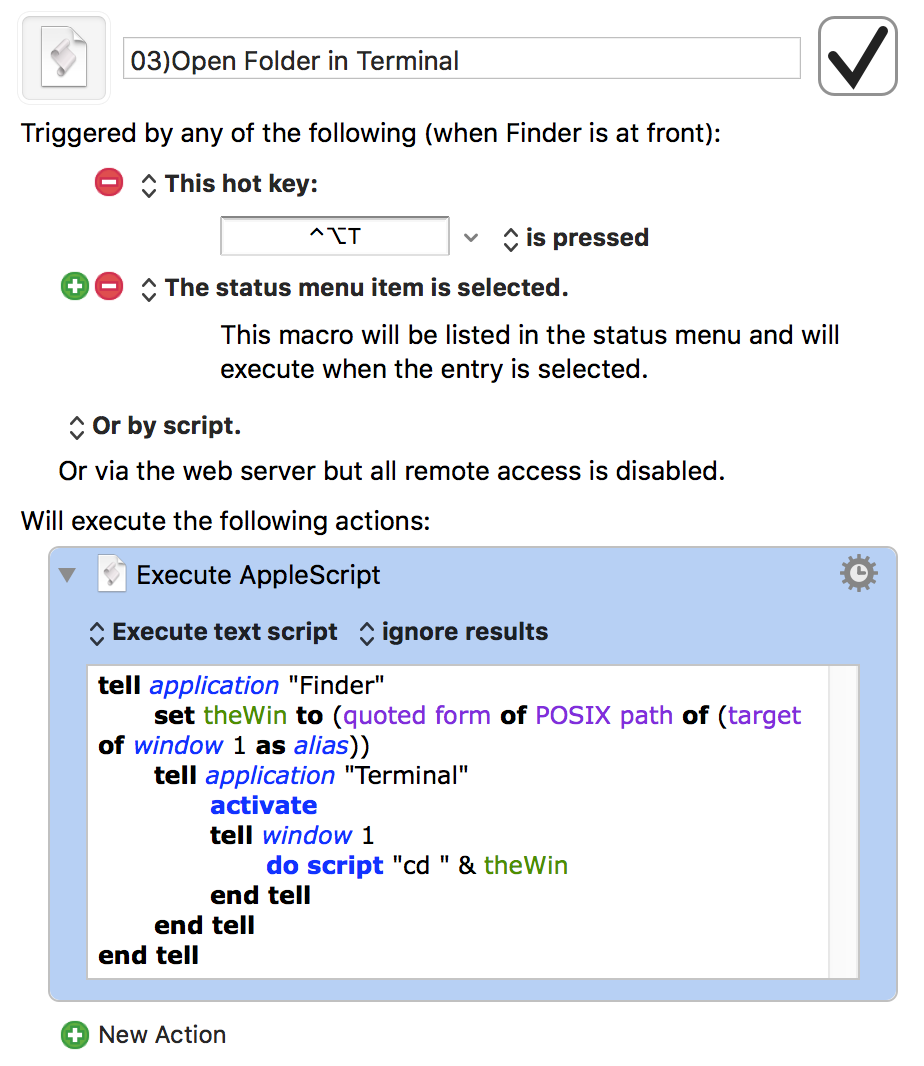
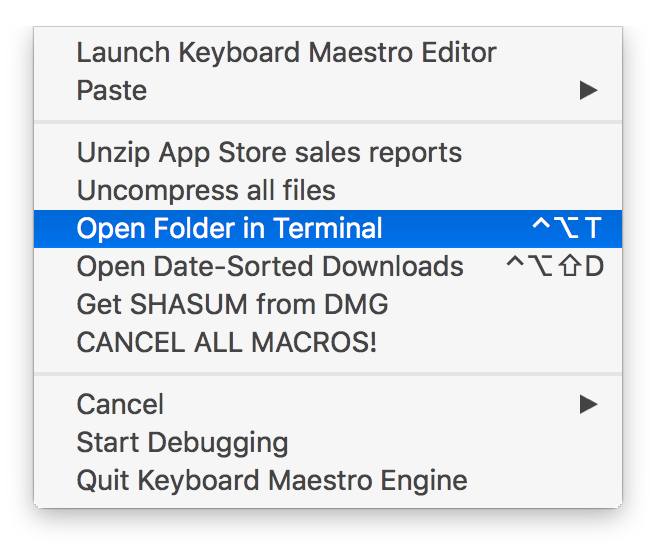
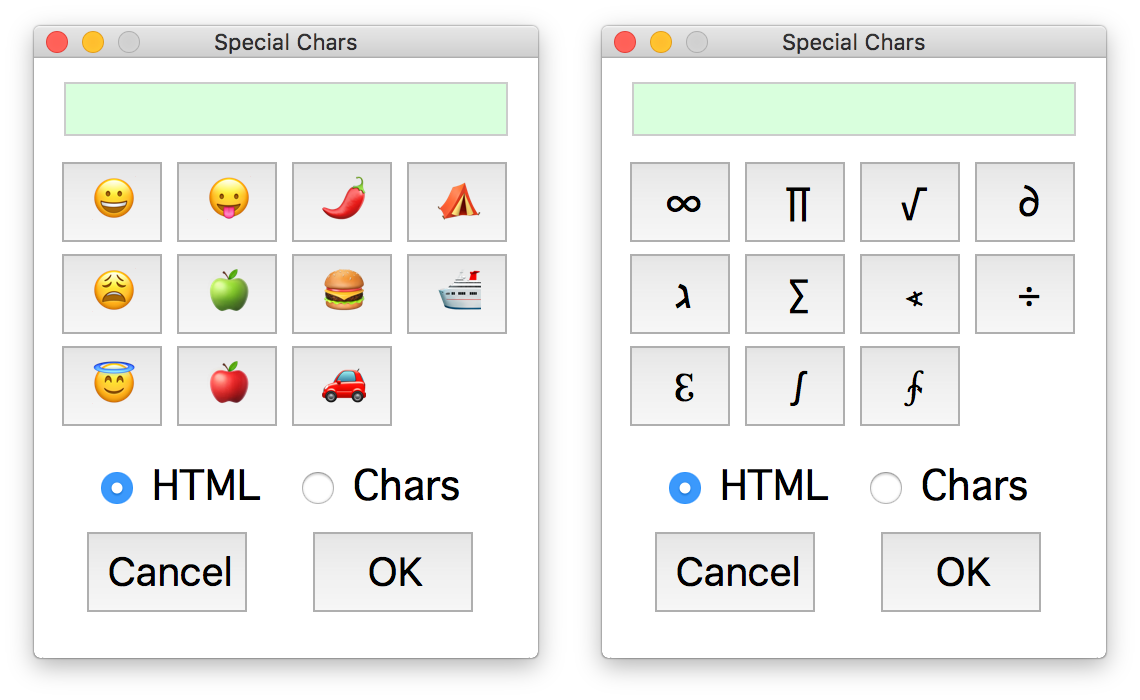
While I don't believe it's possible to modify the Transformations menu, it's pretty easy to use Keyboard Maestro to build a "Sentence Case" transformation…or more usefully, as seen at right, a palette with many more transformations. Unlike the Transformations menu, the Keyboard Maestro solution will work in any app where you can copy and paste text.

 I spend a lot of time in Messages in macOS, and one of its newer features is something called link previews, as seen at the right side of this text block.