Skip to content

Home

An anywhere switch to control HomeKit devices

I recently assembled an IKEA cabinet and shelving in the corner of a room. It's a darker corner, so I added lighting to the cabinet and the shelves, all of which is then plugged into a HomeKit-compatible power plug. I can now easily turn the lights on and off with Siri, but I wanted to have a more-traditional wall switch, too.

As the wall outlet isn't switched, the "real" solution would have involved hiring an electrician to cut holes in the wall and run a new line to a new switch, followed up by a fair bit of drywall repair, texture, and painting. I didn't want to go that route.

Instead, I found Belkin's Wemo Stage Scene Controller1Apple sells this on their site, too, but at a much higher price., which promised an install-anywhere switch for any HomeKit connected devices.

(Note: I don't know if this thing works outside the USA or not; I found a note on their site indicating it may not work in the UK, but that's all I was able to find.)

I bought one to test, and after the first day, I was preparing to return it and write a very scathing review…
[continue reading…]


Home hack: Replacing screen window pull-tabs

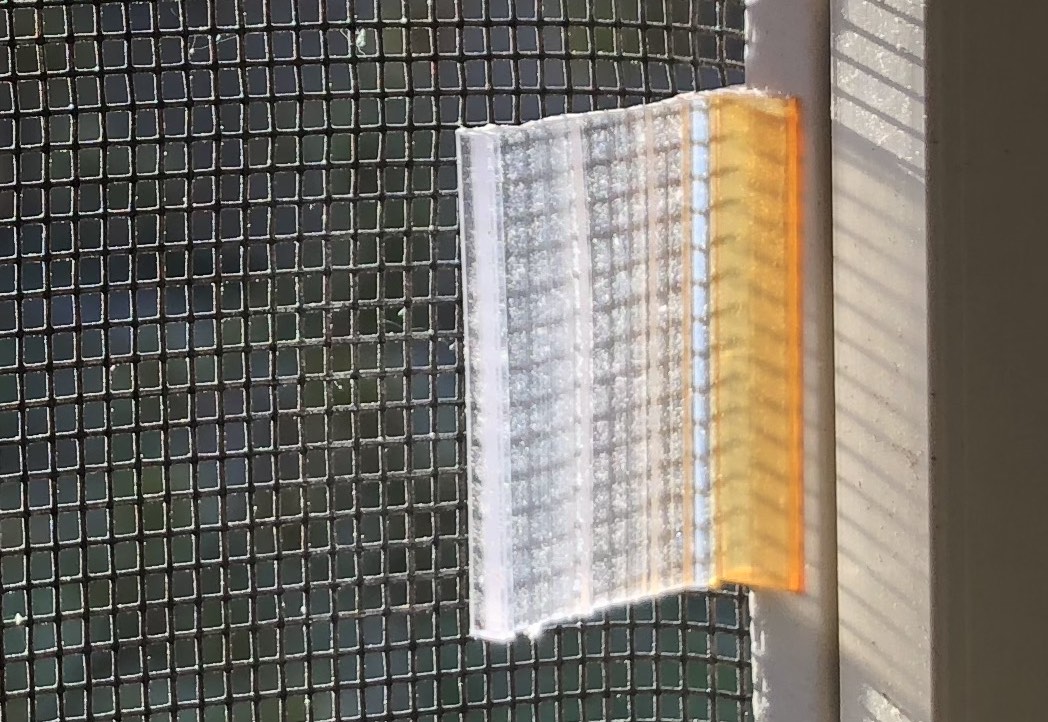
This weekend, I wanted to wash our windows, including the glass that's usually behind the screens. To do that, of course, you have to pop the screens. In our house, that's done by a pair of plastic pull-tabs that are installed below the bead that holds the screen in; they look like this:

Also visible in that screen is the problem: That yellowed plastic is incredibly weak, from exposure to the sun. (Whose idea was it to put non-UV-safe plastic in a window??). As soon as I pull on that tab, it's going to come right off in my hand. And that's exactly what happened to that one, and every other sun-facing window in our house.

Amazon sells an assortment of replacement tabs, but the problem is that they must be installed under the bead. That means disassembling the screen, installing the tab, then reseating the bead while getting the screen nice and tight.

I thought there must be an easier way, and after some searching, there is…this video by Felix Wong shows how you can use duct tape to quickly create a much-more-durable pull tab (skip to about 30 seconds for the actual work):

I bought some white duct tape, and in the span of about 15 minutes, I installed new pull tabs on eight windows. Start by folding over about a half-inch of the end of the duct tape, then pull a length out to see how much you need to reach around the frame, and cut to length. Once cut to length, cut in half lengthwise, giving you two narrower tape strips. Apply those to the frame, leaving the doubled-over half-inch where the plastic pull tab used to reside, and you're done.

You might think you'd rip the tape off while pulling, but because the pressure is parallel to the window, it seems rock solid—I tested with one window about a dozen times, and had no issues at all. So much easier—and potentially longer-lasting—than ordering actual replacement tabs.