Skip to content

Frankenmac

6,399 reasons why I haven’t yet replaced my iMac

My main machine is a late 2014 27" iMac with a 4GHz Core i7 CPU, 24GB of RAM, and a 256GB SSD (plus a big external RAID for most of my files). While it runs fine, I would like something with Thunderbolt 3 support, with faster graphics for X-Plane, and with more computing power for ripping Blu-Ray discs. It's also beyond AppleCare age, and if something fails, it will be expensive and time consuming to repair.

When the iMac Pro came out, I was intrigued, but the price point is scary high and there was the "new new" Mac Pro on the horizon—potentially a cheaper alternative, given the display wouldn't have to be bundled (and upgradeability is a good thing). I was hoping for an update on that machine at WWDC this June. Instead, we got the update much earlier, though it's not was I was hoping to hear: The new new Mac Pro won't be released in 2018.

As a result, if I want to replace my iMac this year, I have only two choices: A new iMac non-pro, or a new iMac Pro. (In theory, I could look at a MacBook Pro with an eGPU for graphics, but I despise the Touch Bar, and that's the only way to get the highest-spec MacBook Pro. But I really want a desktop Mac, not a laptop-as-desktop Mac.)

So just what would I be getting for my money with either machine? And how do those machines compare with the Frankenmac homebuilt I put together last year? And perhaps more intriguingly, how do they compare with the 2013 "new" Mac Pro that Apple still sells today?

To answer those questions, I turned to the Geekbench 4 benchmark app, which includes both CPU and graphics (they call it Compute) benchmark tools.
[continue reading…]


Frankenmac 2017: The devil is in the details

  • macOS

My Frankenmac project has reached the point where all the easy stuff is done, and only the hard stuff remains. To put it another way, the machine is 95% functional, but that last 5% is going to require more effort than anything thus far, I believe. Today, a look at what was easy (relatively speaking) and what's going to be hard.

The easy stuff

Going from nothing to a basically functional Mac was all relatively easy, save for a few moments of self-induced pain. To me, these were the easy parts of the project.

  • Buying the right hardware: Compared to nine years ago, when I last built a hackintosh, this part has gotten much simpler. If you stick to the hardware on the tonymacx86.com Buyer's Guide, you'll have the right hardware for the job.
  • Building the machine: If you've built a PC before, this step is pretty simple. You'll need to watch out for some gotchas, especially if you're trying to use a nine-year-old case and power supply, but it's still pretty simple.
  • Installing macOS: Nine years ago, I remember this step taking me a long time. Today, thanks to programs like UniBeast, Clover, and MultiBeast, it's relatively straightforward. You'll want to follow the guide closely, and you may hit an odd issue or two—USB ownership in my case—but getting macOS running was still relatively easy.
  • Using an upgraded video card: Thanks to NVidia's release of Pascal drivers for the Mac, getting my GTX 1080 video card running was a breeze.
  • Sleep/wake: I didn't have to do anything here; it just worked.
  • Handoff and Continuity: With the proper Fenvi card, this should just work…and it did for me.

At this point, I had (and still have) a machine that will boot MacOS and run just like an actual Mac—for most things. It's the "not most" parts that constitute the hard stuff…

[continue reading…]


Frankenmac 2017: How to back up a hackintosh

After last week's temporary death of Frankenmac, I decided it was important to back up the machine—even though I haven't yet migrated my data to it. Having a backup would let me quickly recover from any future self-induced stupidity. Backing up a hackintosh is generally the same as backing up a regular Mac, with one key exception: Making sure you back up the EFI partition, which is where are the special bits are stored to make your hackintosh boot.

Here's what I did to make sure I had a bootable backup of Frankenmac…

[continue reading…]


Easily compare Intel CPUs across generations

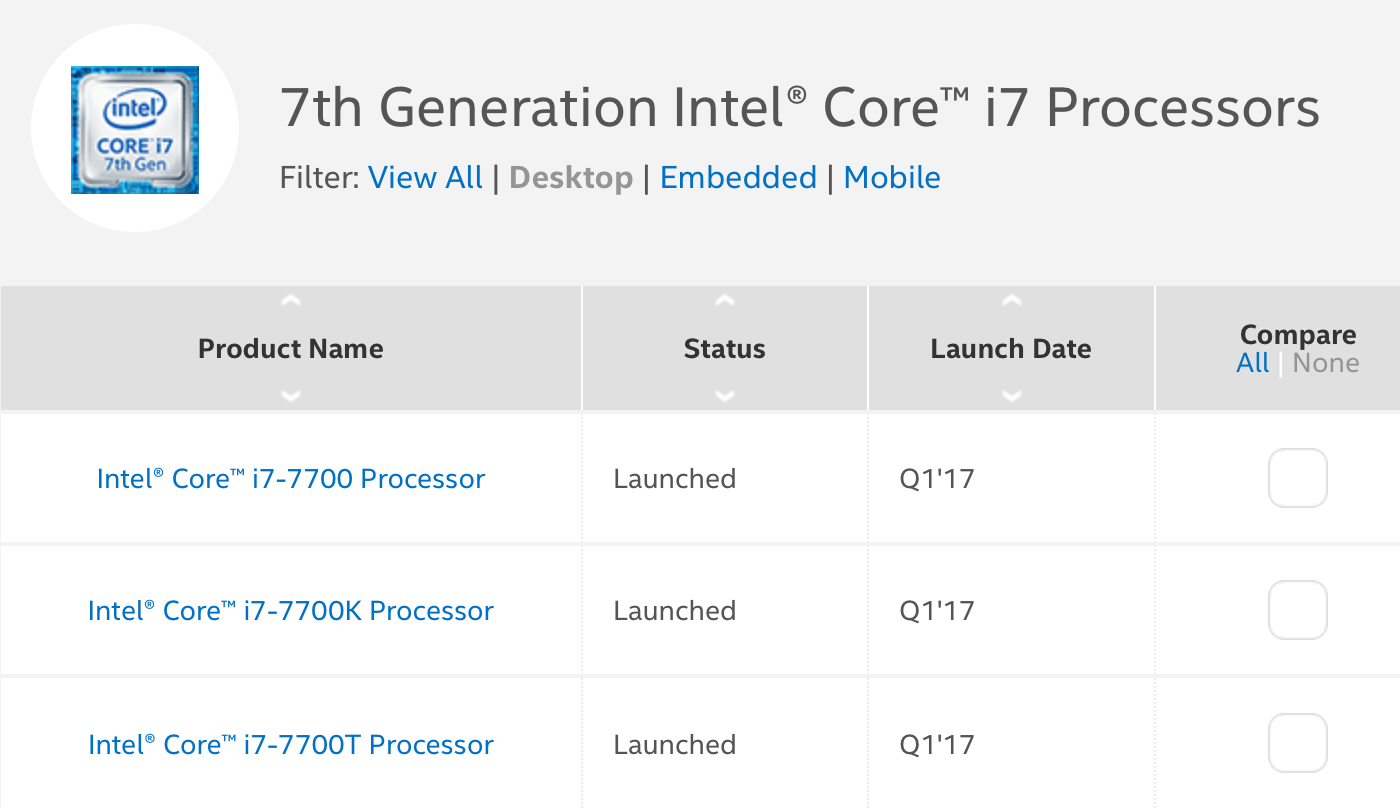
As part of my research into Frankenmac, my homebuilt Mac clone, I stumbled across this page at Intel that lets you easily compare CPUs across generations. Just click the Processors button, then choose a family (Desktop), then choose a CPU family (7th Generation Intel Core i7).

Click directly on a processor's name to go to its data sheet, or click the Compare box to add it to a comparison. Select as many as you like; the final layout includes horizontal scrolling to display those that don't fit onscreen at first.

I found this site useful when selecting a CPU for Frankenmac. Comparing the 6th and 7th generation Core i7, for example, the 7th generation has a slightly faster clock speed, faster RAM, and support for Intel Optane memory, whatever that might be. Based on these mild differences, and on Apple not yet shipping a Mac with the 7th generation chip in it, I chose the 6th generation Core i7 for Frankenmac.