I try to keep our vehicles looking as good as possible for as long as possible. My kids know that this means long walks from the out-there-no-way-to-get-dinged parking spot to our destination. It means I spend a lot of my free time hand washing our cars, because I don't trust the automated variety. It means lots of vacuuming and leather cleaning and Windexing and who knows what else.
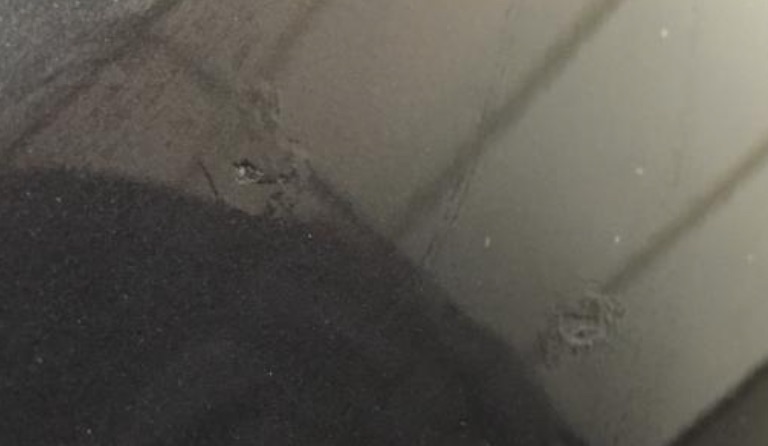
But the one thing that has—until recently—stumped me is repairing small chips in the paint. For years, I'd buy a bottle of the factory paint and a bottle of clear sealant, and do my best to dab, smooth, and seal. But the results were never very good—sure, the chip was covered, but you could still see exactly where it was—many of my cars have had repaired areas that looked something like this (though not quite this bad)…

While effective at preventing any further expansion of the chipped area, the results were far from pretty.
Then I read about Dr. ColorChip, and thought I'd give it a try. You can also buy their kits on Amazon, but I recommend using their web site, so you can make sure you get an exact color match. There are many similar systems out there, but this is the only one I've used1I didn't receive anything from them for writing this; I'm just a happy customer..)
Using their kit, here's a set of before-during-after pictures of a small chip repair on my car:
Compared to my prior method, the difference is astonishing. The fixed area is basically invisible from any distance, and there's no excess paint surrounding the fixed area.
If you get really close, you can see that the chip isn't completely fixed…

But if I repeat the process, even that remnant should nearly vanish. (As is, it's only visible if you're incredibly close, so I probably won't bother to clean it up any further.)
The process to fix a chip with Dr. ColorChip is pretty simple, though it did take a bit of practice to really get it down—I suggest you start with a less-visible lower bumper area before tackling a hood or fender. Their web site has a lot of instructional videos that are helpful, but the basic process is just four steps:
- Shake paint, dab bit next to chip.
- Wearing a nitrile glove, wipe the dab into the chip—this is the stage shown in my second image, where the paint has been spread into the hole.
- Apply sealant/cleaner mix to blending cloth, then wipe (with light pressure) until excess paint is removed.
- Buff to a shine.
I ordered a standard paint chip repair kit, which should have enough material for a couple dozen chip repairs.

I've maybe done a dozen chips so far, and it appears I've got enough left for at least a dozen more. Note that this process is really designed for small chips and dings—if you've got an inches-long scrape that's really wide, your may not get good results. (Thankfully, I don't have any such dings that need repairing.)
If you're bothered by rock chips and (like me) lack real talent when it comes to repairing them, I highly recommend Dr. ColorChip—or another similar product. It's not inexpensive, but it's a heck of a lot cheaper than a repaint at the body shop.

Wow Rob, you’re a diligent fellow. I can barely be bothered to drive through a car wash and you’re doing all of that hand washing and chip repairing. I’m sure you’re the one with the higher resale value on your vehicles though, so you have the last laugh.
I’ve enjoyed your work from your Mac OS X hints days and your other articles, notably for me in Macworld back in the days when it used to be good. Despite all of this it took an article about chip repairing and car washing to finally get me to comment. Strange times. 8-)
All the best,
Brian
Comments are closed.