How to copy non-visible formula results from Excel
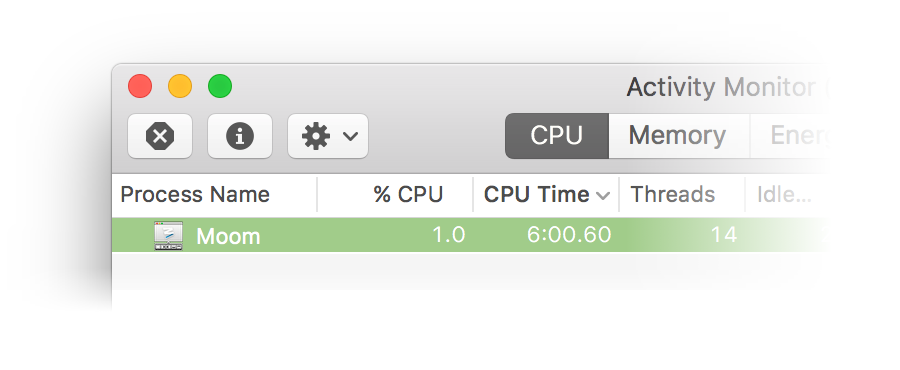
I use Excel for a ton of stuff, both personal and work. As an example, on the work side I use an Excel workbook to track our apps' hidden prefs—which are set using a long ugly Terminal command1Something like this: defaults write com.manytricks.Moom "PMWindowFadingDuration" -float 0.
These hidden prefs can be used to invoke features we're testing, or to revert a behavior we've changed at some point, etc. For example, Moom has hidden prefs to use the full screen grid without clicking in the big box and to disable the fade in/out of the keyboard controller.
We don't publish all of these, as we're not necessarily ready for them to be put to use by everyone (otherwise, they'd be visible prefs). But there are cases when a user has a specific need for a setting, or when troubleshooting, that these hidden prefs can be very useful. As such, I often have to send someone a defaults write command.
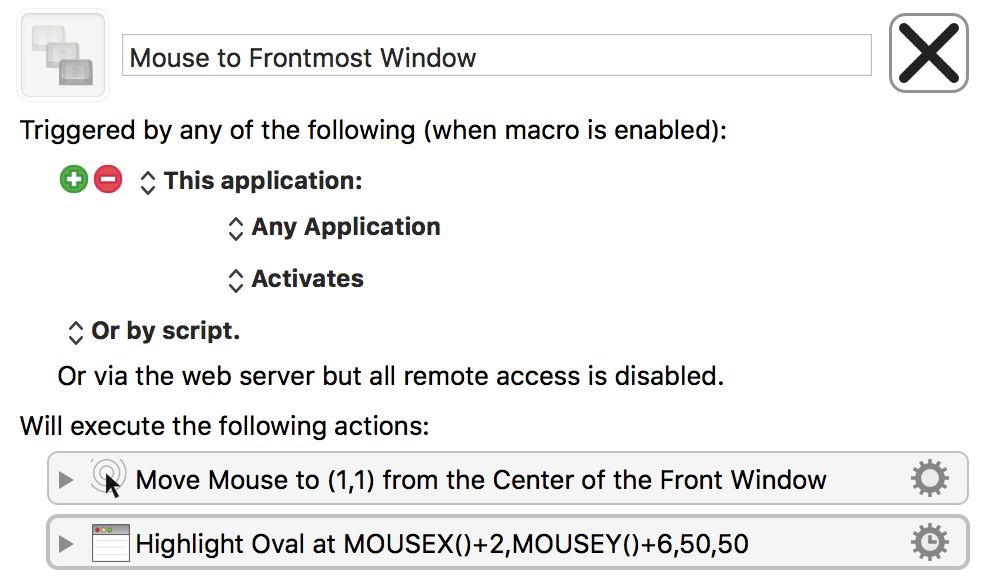
Read on to see how I use Excel's formatting features—plus the ever-valuable Keyboard Maestro—to disguise some of this workbook's formula results, yet still easily copy them for sending to a user.
 Short of just trying the shortcut, there's a way to check from within Keyboard Maestro itself: Type the macro's activation keys into the search box, as seen in the box at right.
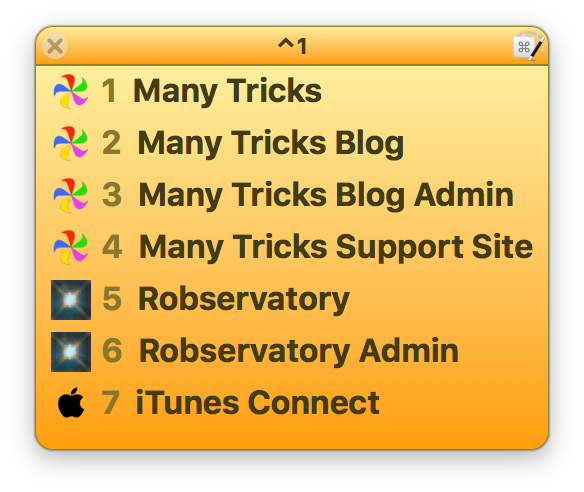 I wanted a way to open a limited number of URLs in either Safari (if that's what I was in, or if I wasn't in a browser), or in the frontmost browser, if that browser were frontmost. I could just create the subset as bookmarks in each browser, but if I wanted to add or remove a page from the list, I'd have to do so multiple times.