How to install ruby gems in Terminal
In yesterday's tip, See sensor stats in Terminal, I implied that installation of the iStats ruby gem was a simple one-line command. As a commenter pointed out, that's only true if you already have the prerequisites installed. The prerequisites in this case are the Xcode command line tools. Thankfully, you can install those without installing the full 5GB Xcode development environment.
(Rather than starting from scratch, I'm just going to borrow this bit from my detailed instructions for installing the transcode-video tools, because the Xcode command line tools are required there, too.)
Here's how to install the command line tools. Open Terminal, paste the following line, and press Return:
xcode-select --install
When you hit Return, you'll see a single line in response to your command:
$ xcode-select --install
xcode-select: note: install requested for command line developer tools
At this point, macOS will pop up a dialog, which is somewhat surprising as you're working in the decidedly non-GUI Terminal:
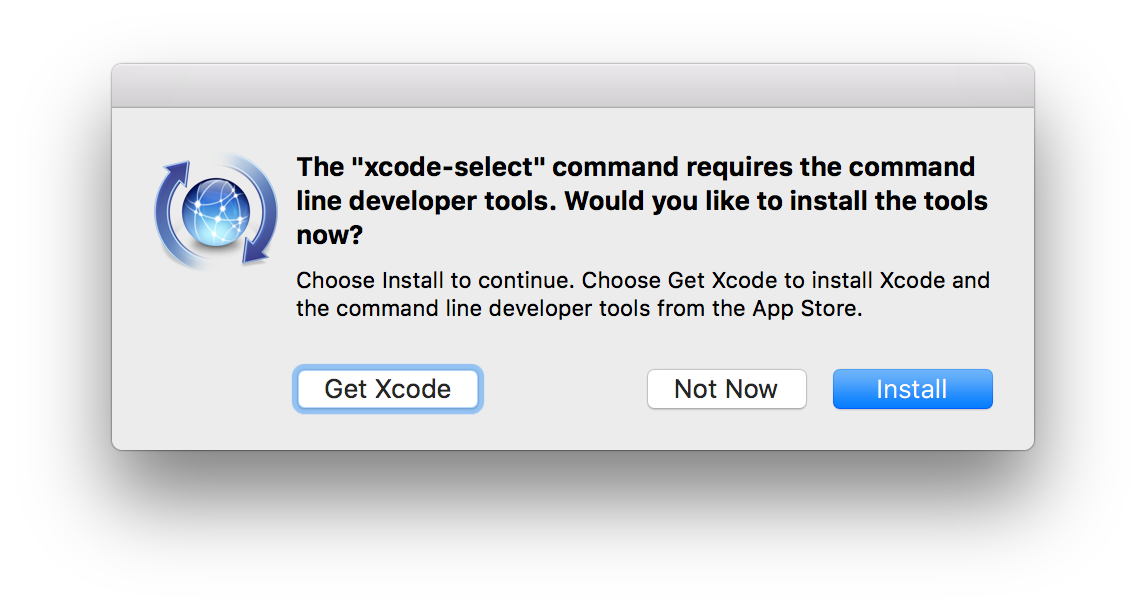
Do not click Get Xcode, unless you want to wait while 5GB of data downloads and installs on your Mac. Instead, click the Install button, which will display an onscreen license agreement. Click Agree, then let the install finish—it'll only take a couple of minutes.
If you're curious as to what just happened, the installer created a folder structure in the top-level Library folder (/Library > Developer > CommandLineTools), and installed a slew of programs in the usr folder within the CommandLineTools folder.