Skip to content

Homebrew

How to install ruby gems in Terminal

In yesterday's tip, See sensor stats in Terminal, I implied that installation of the iStats ruby gem was a simple one-line command. As a commenter pointed out, that's only true if you already have the prerequisites installed. The prerequisites in this case are the Xcode command line tools. Thankfully, you can install those without installing the full 5GB Xcode development environment.

(Rather than starting from scratch, I'm just going to borrow this bit from my detailed instructions for installing the transcode-video tools, because the Xcode command line tools are required there, too.)

Here's how to install the command line tools. Open Terminal, paste the following line, and press Return:

xcode-select --install

When you hit Return, you'll see a single line in response to your command:

$ xcode-select --install
xcode-select: note: install requested for command line developer tools

At this point, macOS will pop up a dialog, which is somewhat surprising as you're working in the decidedly non-GUI Terminal:
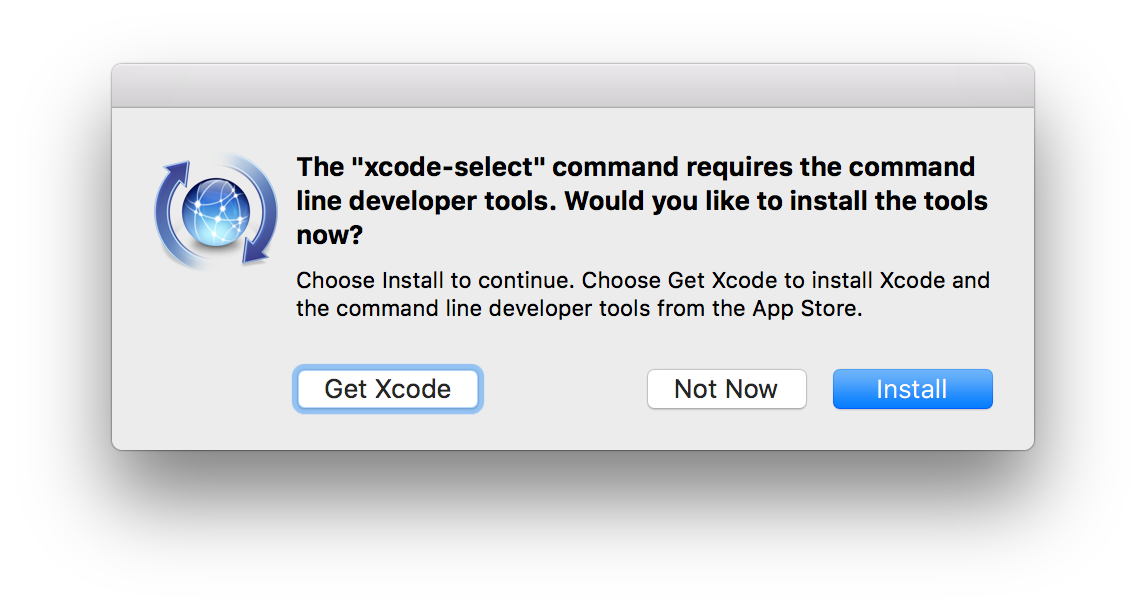
Do not click Get Xcode, unless you want to wait while 5GB of data downloads and installs on your Mac. Instead, click the Install button, which will display an onscreen license agreement. Click Agree, then let the install finish—it'll only take a couple of minutes.

If you're curious as to what just happened, the installer created a folder structure in the top-level Library folder (/Library > Developer > CommandLineTools), and installed a slew of programs in the usr folder within the CommandLineTools folder.

[continue reading…]


Install and configure Apache, PHP, and MySQL on macOS Sierra

Fair warning: Today's tip is over-the-top geeky.

After many years of not doing anything with web serving on my local Mac, I recently had a need to look at some mySQL/PHP-based web packages. While I could install these on robservatory as tests, I generally like to install things locally first, because I'll install a handful of packages until I find the one I like. But it'd been so long, I didn't have anything configured. (Remember when enabling Apache—i.e. web sharing—was a feature of the System Preferences' Sharing panel? Ah, good times!)

I could have opted to use the built-in Apache, but I wanted something that I could more easily keep up to date, and that, if I chose, would be easy to remove. The good news is that Homebrew has packages available for Apache, PHP, and MySQL. Homebrew installs everything in its own directory tree, and adding and removing packages is simple—exactly the setup I wanted.

So in theory, installation was as easy as three brew tap commands. The reality, though, is that the installation is a bit more complex. OK, it's a lot more complex. The good news is that, this being the age of the internet, help is but a search away. Or the advice of a friend away, which is what I used in this case.

A friend pointed me to this excellent installion guide that walks through the entire process, including installing two versions of PHP with the ability to switch between them on the fly.

It was this on-the-fly switching, though, that gave me troubles: I couldn't get a site to load unless I specified "index.php" or "index.html" as part of the URL. (Apache is configured to grab those files automatically.) Solving that one took a bit of time…

[continue reading…]