The continuing story of my homebuilt Mac, which I've named Frankenmac 2017. In the first installment, I covered resources, choosing parts, and ordering parts. Today, what do once the parts arrive, as mine did yesterday1Not shown: Keyboard, mouse, display, and the case.…
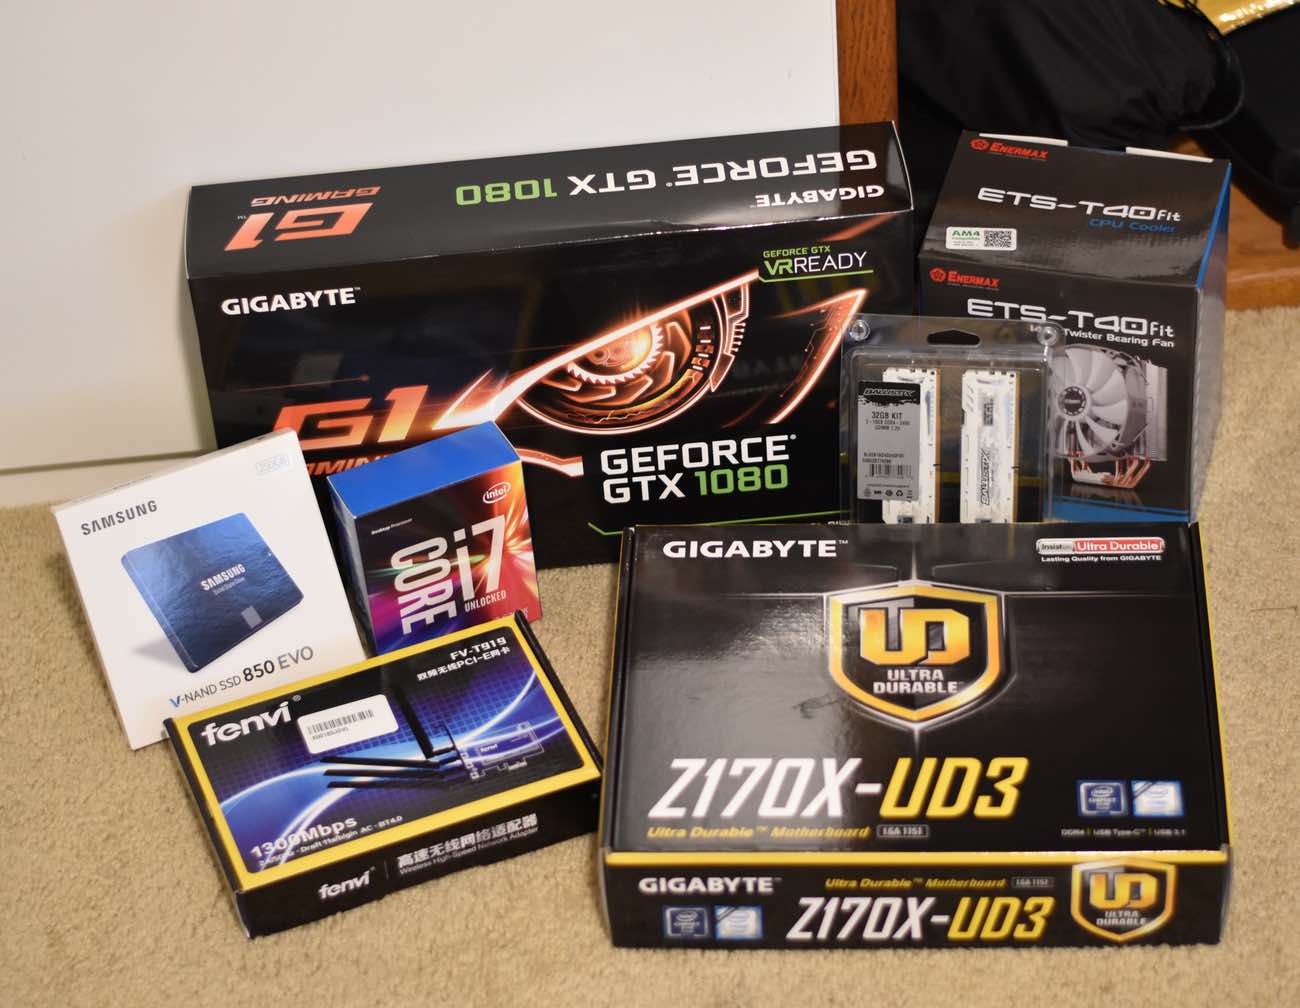
Everything in that shot came via Amazon, except for the CPU heatsink/fan at the back right. That required more driving around than I'd care to admit (one business gone, one out of stock, another unexpectedly closed for the day), but I finally found something I liked. And with that, I had everything I needed to build the machine.
Now that I had the parts, it was time to try to turn them into a computer…
If you've never assembled a PC before, plan on it taking some time. Possibly a lot of time. Make sure you've got another device nearby, set up with browser tabs pointing to how-to's like this one, or any of these thousands of others.
It's not an overly difficult thing to do, it's just that there are lots of little things to do properly. Everyone has their own preferred method; I like to put everything I can on the motherboard first, then put the motherboard in the case. There's a lot more room to work on your desk than there is inside the case, but this can make it trickier to screw the motherboard into the case.
 You won't need much in the way of tools—possibly just a Phillips-head screwdriver. In addition, I have what I call The BoSS, or Bag of Strange Stuff, which I keep handy. It's mostly screws of various sizes, but there are also some jumpers and other weird things in there. You never know when you'll find yourself short one screw, and having spares nearby can be handy.
Also, when opening stuff, do it carefully in case you need to return something—with a project like this, there's always a chance that some particular thing just won't work in your Hackintosh, and you want the return process to be as easy as possible.
After everything's opened and laid out in my work area, my basic assembly process is:
- Install RAM—it's easy, and it's nice to start off with a "win."
- Install the CPU—it's also pretty easy, just follow the arrows: Line up the arrow in the corner of the CPU with the arrow on your motherboard's CPU slot.
- Install the CPU heatsink/cooler, if you bought a "K" CPU which don't include them. This can be a tricky process, and involves spreading some grease on your CPU. I always test-assemble without the grease, to make sure I know how things work. The ETS-T40fit I put in the Frankenmac went in relatively easily, though it wasn't clear exactly how the fan's clips should be attached.
- Install the backplane in the case, which provides a labeled cover for the motherboard's various ports.
- Mount the motherboard in the case. The screws are small, the depths are dark, and the spaces small. Be careful or you may wind up with a screw loose in the innards of the case.
- Make the various cable connections from the case to the motherboard.
- Install the hard drives and CD-ROM.
I'm not going to try to replicate the various how-tos on the net, so I won't go into much detail on the above steps, with a couple exceptions.
First, if you bought an external video card, or any sort of peripheral (like the WiFi/Bluetooth card), I would not install it right away. Make the machine as simple as possible for the macOS installation and configuration, then add the complexity. I used an Ethernet connection, not WiFi, during the setup. The Intel motherboards have built-in video cards, too, so you don't need the fancy third-party card to get up and running, either.
As of today, I've added the WiFi/Bluetooth card (no drivers required, it just works), but have not yet tackled the video card project.
Second, there's one particular area of the motherboard that just drives me insane—the front panel connectors. Usually found at the front left of a motherboard (relative to the ports in the back), these itsy-bitsy little pin-based connections are a bear to work with for anyone with hands larger than that of an ant. The connectors are for the front-panel features on your case—things like the power and hard drive activity lights (not so important) as well as the power and reset switches (much more important).
The pins look like they'd snap off in a strong breeze, and there's about 0.05 microns of free space between each connector. Here's a picture of that section of my motherboard, showing the inserted pins:
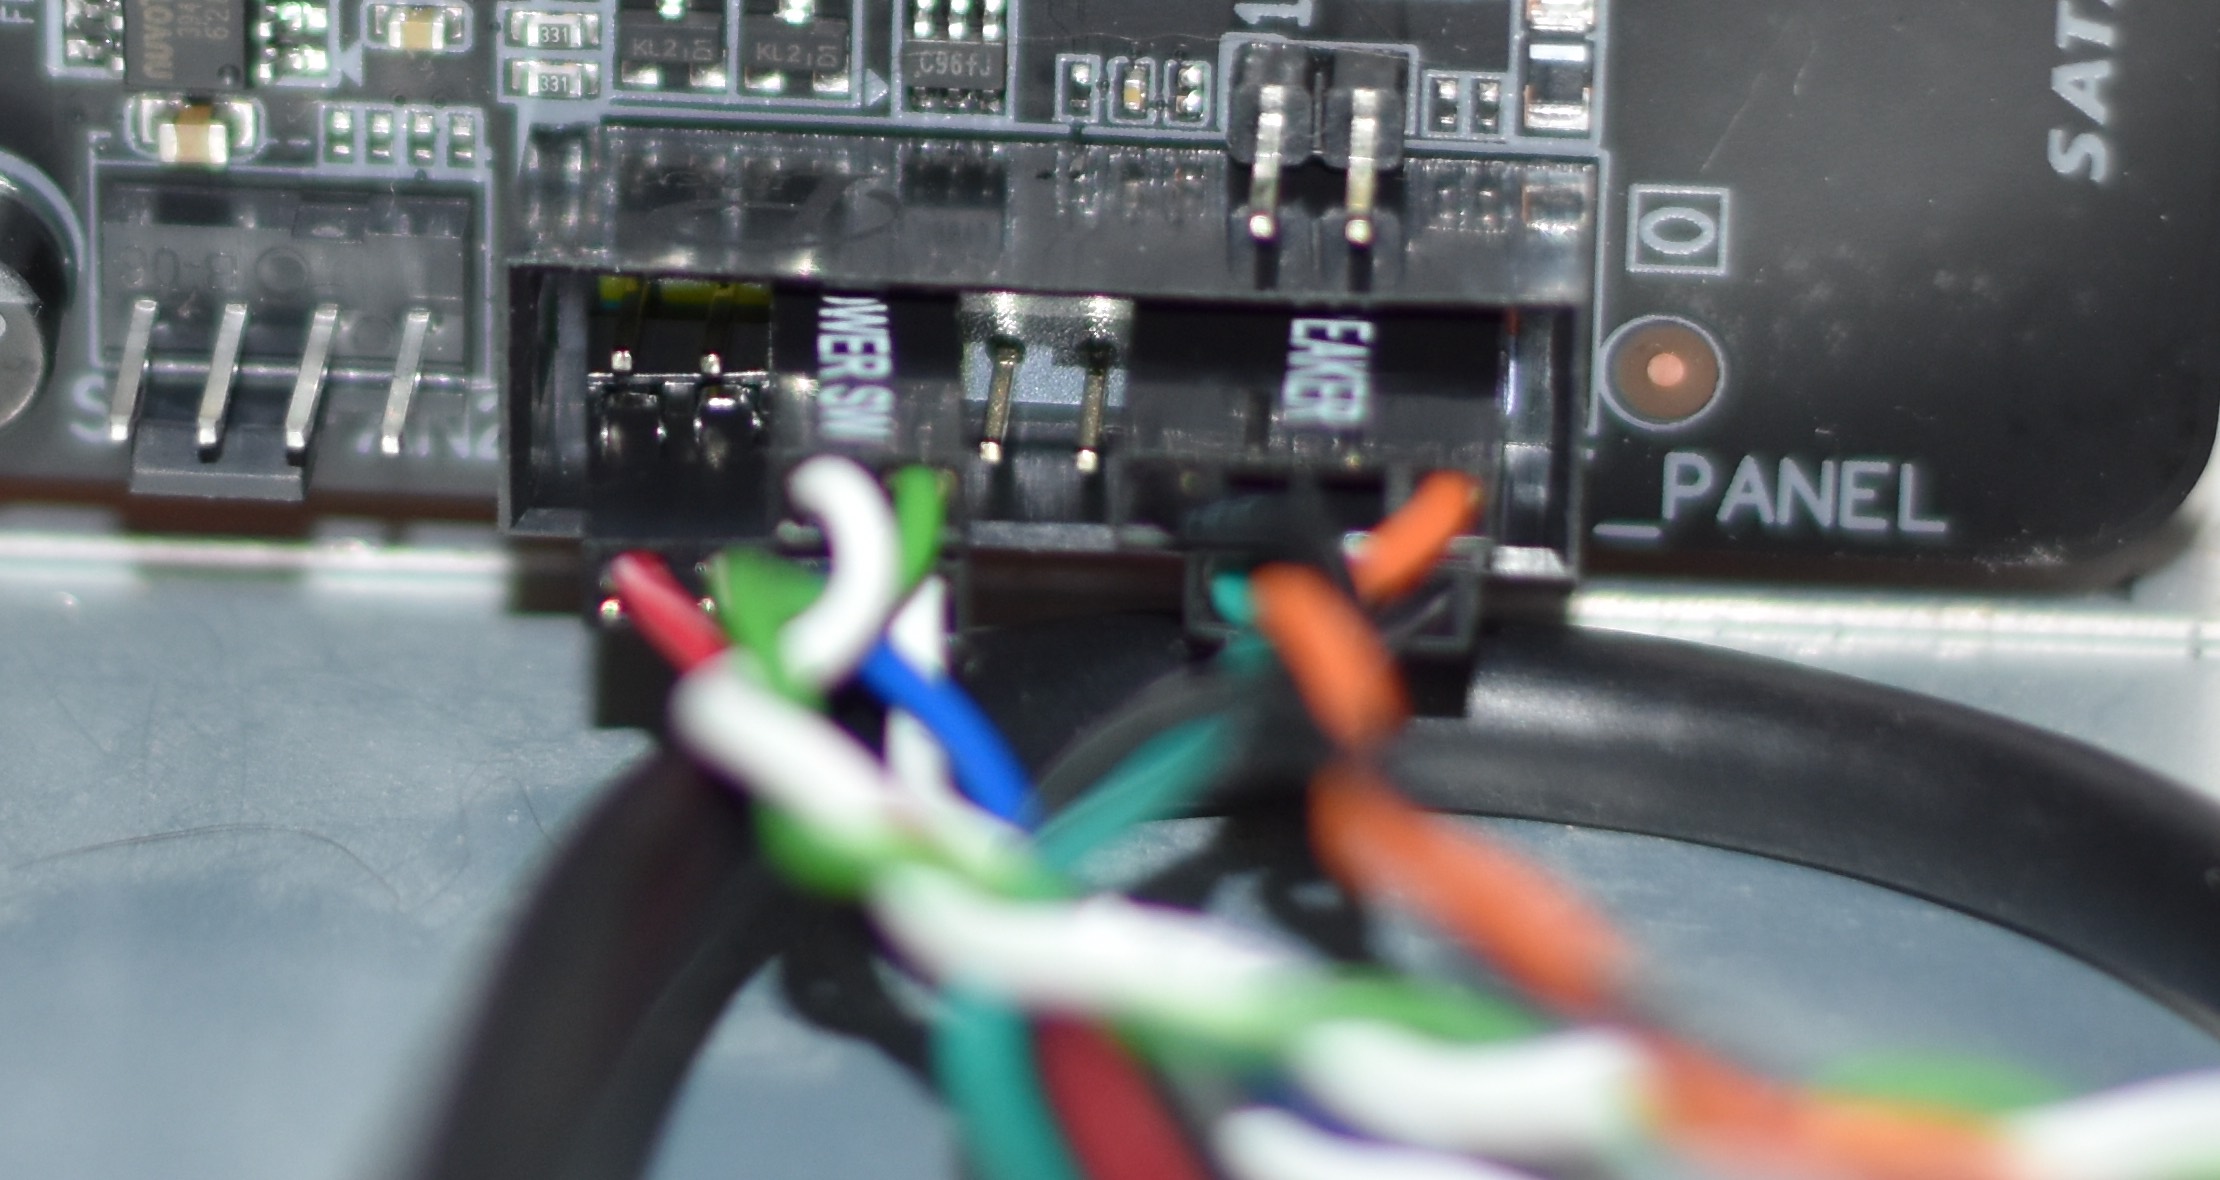
 In theory, this shouldn't have been hard, because my motherboard came with the little doohickey pictured at right. I should have been able to plug each cable into the adapter, then plug the adapter into the motherboard.
The problem is that there's no standard for these connectors beyond "two pins," and for my case, the plastic tips on a couple of the connectors were too big for the adapter (though they fit just fine in the socket). So if your motherboard comes with one of these things, you may find it easier to just ignore it—but do try it first, as if it works, it will save some aggravation.
Once all the cables are connected—don't forget about the hard drive's cable2Don't ask how I know about this. Suffice it to say 10 minutes of troubleshooting was wasted.—you're ready for the big test: The power button.
After you've got everything assembled, including the keyboard, mouse, and display (did you remember the main power cord?), it's time to fire it up. On my case, there's a hardware on/off switch on the back, and a power switch on the front. Turn on the hardware switch first, then press the front-panel button, and wait.
In my case, on the first attempt, nothing happended. Debugging wasn't too hard, and it was (of course!) in the troublesome front panel connector section of the motherboard: I had put the power connector on one prong off target. When I moved it back and tried power again, I was greeted with a wonderful sight: The BIOS screen…

Congratulations! You've built, um, well, you've built a collection of parts that will boot to the BIOS screen. Getting it working from here is a whole 'nother story; one that continues tomorrow.